How to Install a Picket Fence Most people dream of having a house of their own when they begin to form a family. They also think about having a white picket fence. Picket fences make a house look bigger, elegant, and beautiful. Installing picket fencing is not a difficult job to do. This installation is as easy as 1, 2, 3, 4. There are only four easy steps to begin installing picket fencing. First, you customize pickets. Second, you have to make a spacer. The third step is the position. Step four is putting the pickets together.
For customizing pickets (piece of wood you will use), trace the shape onto the boards and make the cuts with a saber saw. To speed up the job, clamp two or three boards together and cut them at the same time. Be very careful when cutting the boards. If you make a wrong trace, your picket fence won't look very pretty.
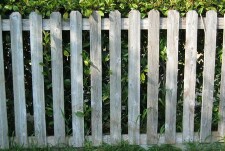 picket fence
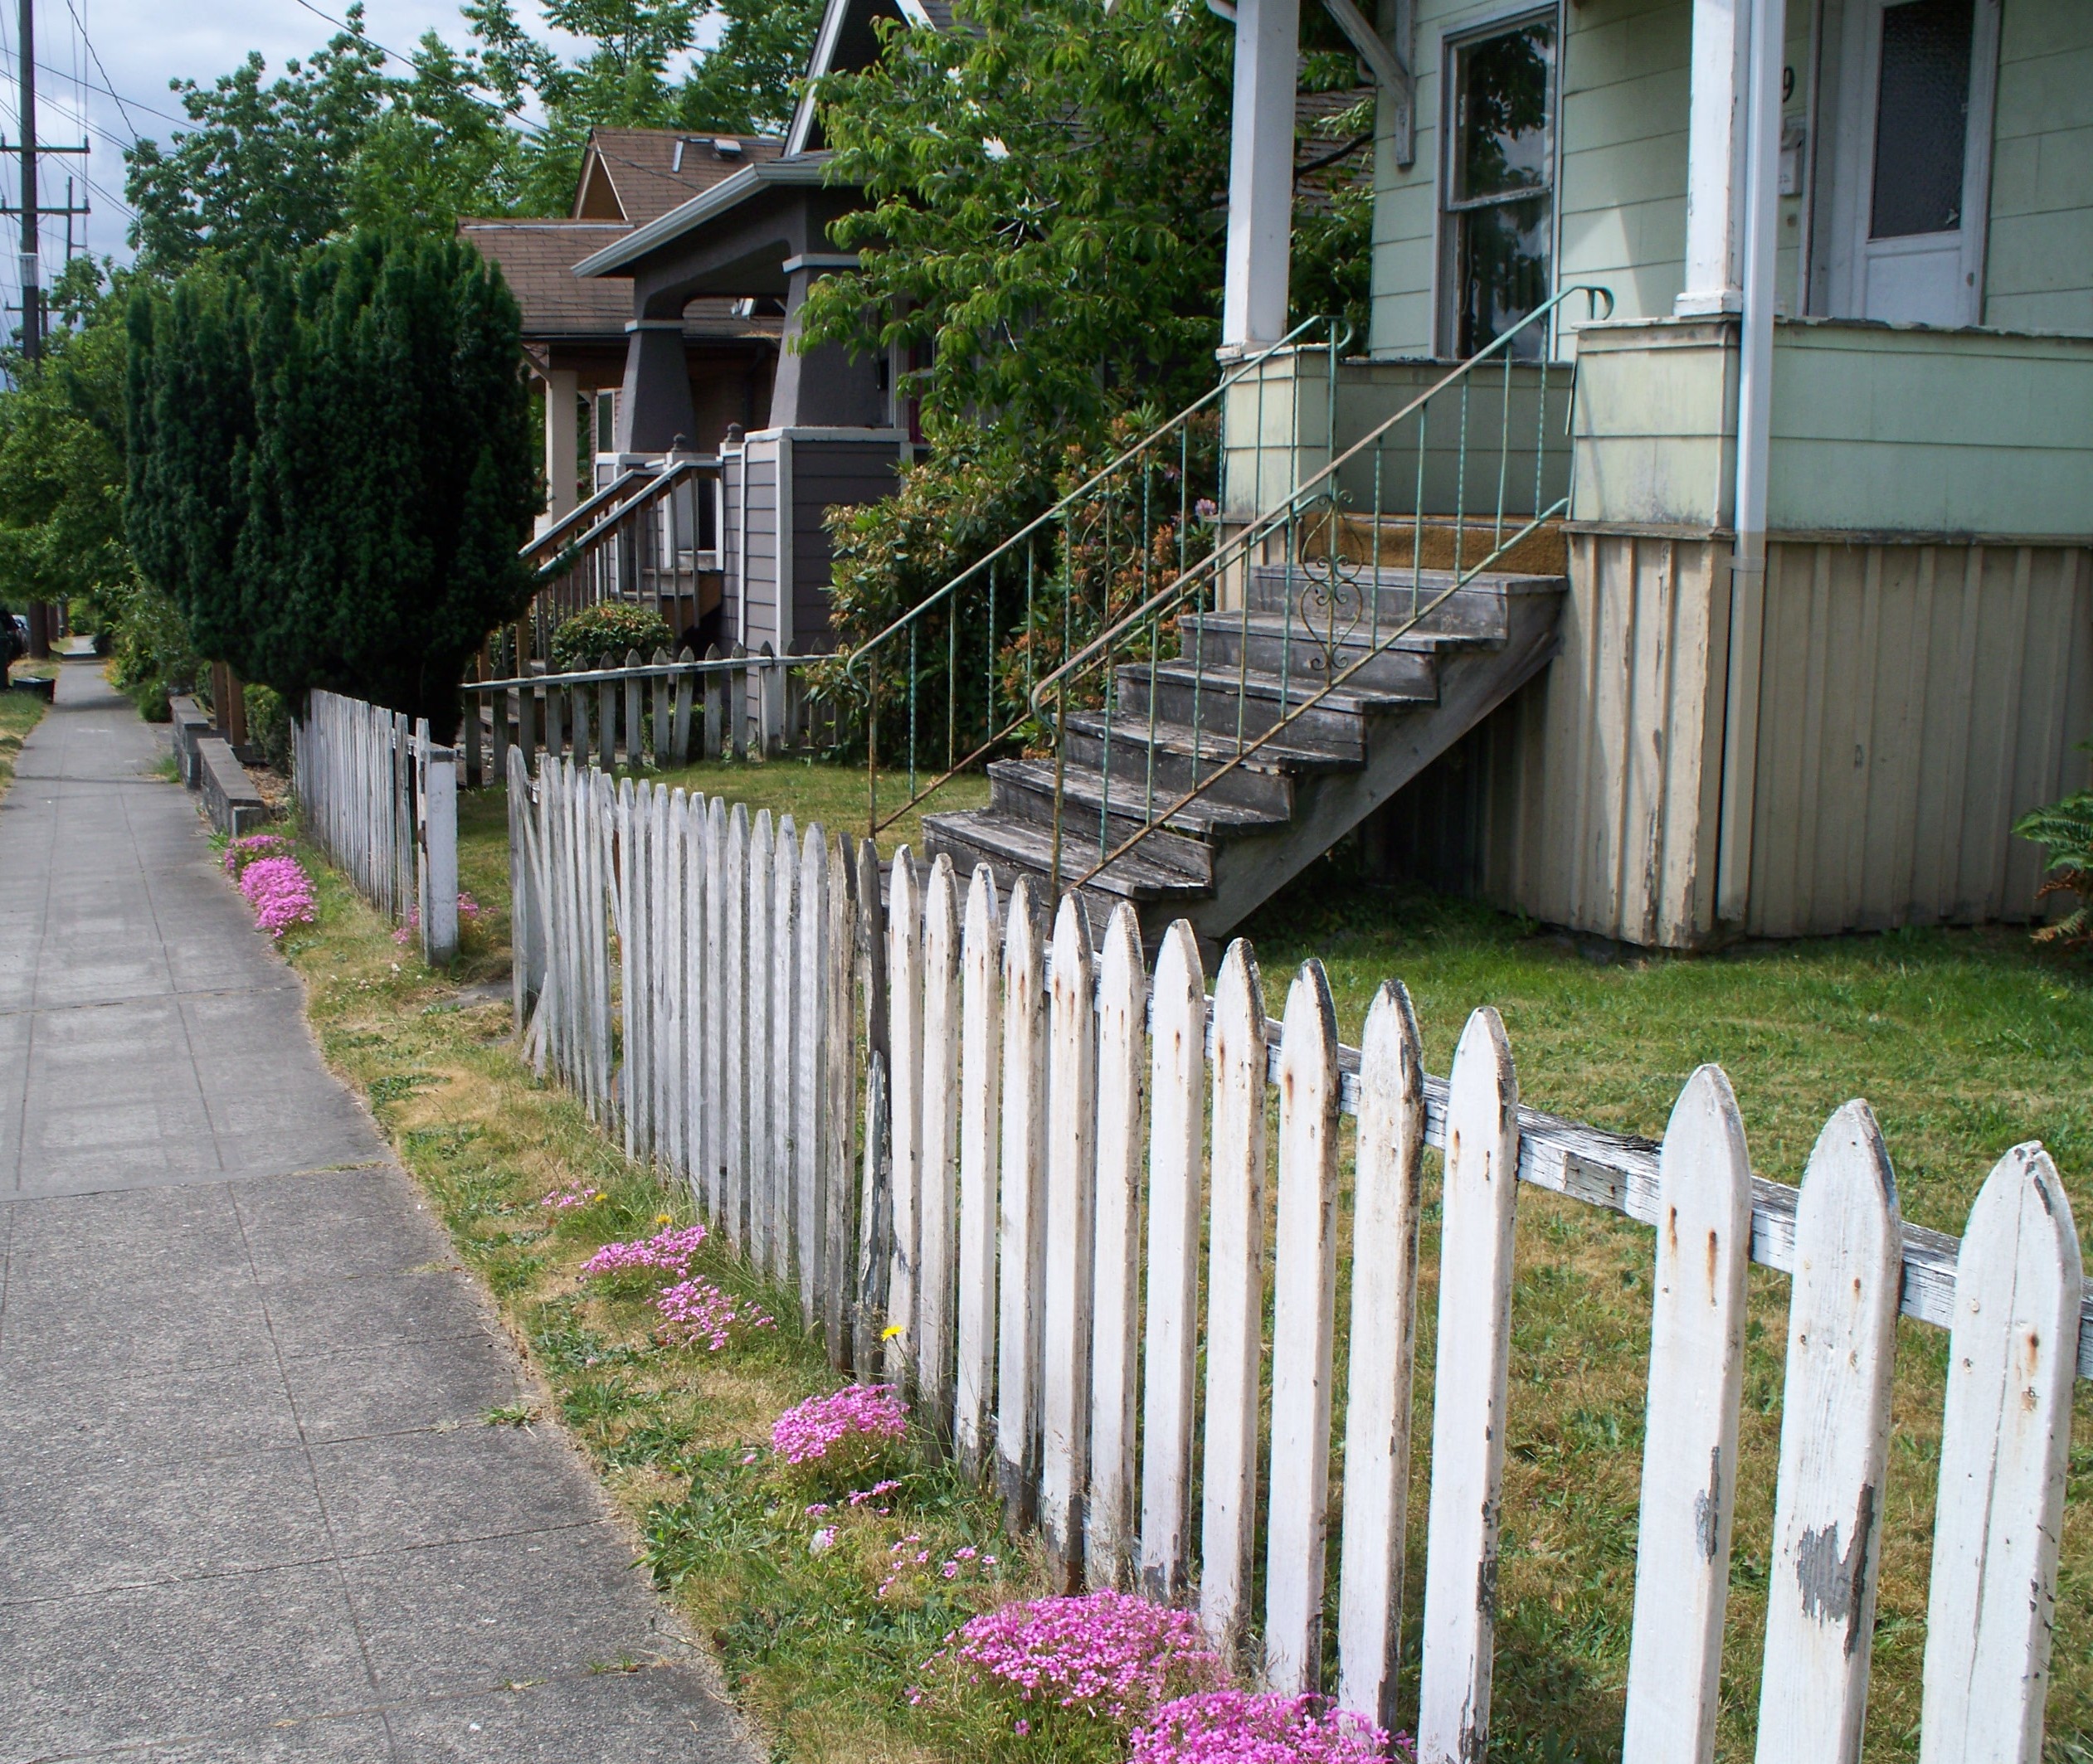 English: Classic picket fence in need of some pain...
 English: A village in Tongshan County, Hubei (betw...
Step two is to make a spacer (space between each picket) equal in width to the desired interval between pickets. Screw a 2x2 block to the top of the spacer so it can hang from the top rail of the fence at the desired height of the pickets. Soon, your picket fence will look extraordinary.
Holding a level against a spacer to check that the pickets are plumb can be a little awkward at times. However, one solution is to make a spacer like in step two. Another is to then screw a small torpedo level aligned with the front edge of the spacer. As a result, you won't have to worry about holding the level in place while you work.
The third step is the position. To position the first picket, butt the spacer against the post. Butt the picket...