Aim:To investigate and understand the effects of two convex lenses ÃÂ the objective and the eyepiece lenses ÃÂ being placed apart forming a magnified image.
Theoretical Background:Light microscopes are used by scientists everywhere around the world. From looking at a fibre from a string to looking at cells in living organisms, which is physically impossible for us to look at with our eyes. It is an item that can magnify objects up to 1000 times larger. The first light microscope was invented by a scientist called Robert Hooke (1635 ÃÂ 1703), who found out that by placing 2 convex lenses apart from each other in a specific distant, it is possible to magnify any object. The light microscope is basically made up of 5 components, the eyepiece lens (also known as the ocular lens) the objective lens, stage, focus and the light source. (Please see diagram below)Picture of a Light MicroscopeSource: http://static.howstuffworks.com/gif/light-microscope-diagram-3.gifAlthough
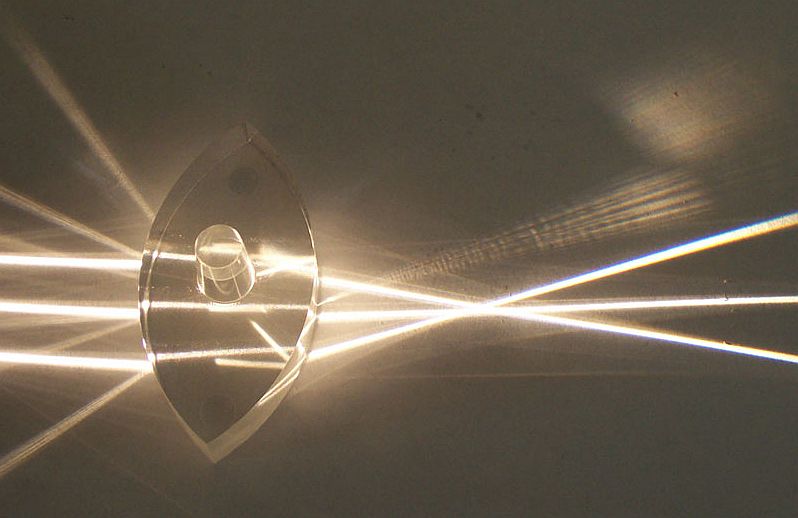 Convex lens Taken by fir0002
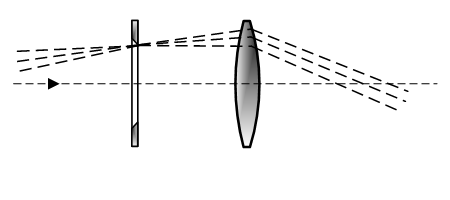 English: Kepler eyepiece.
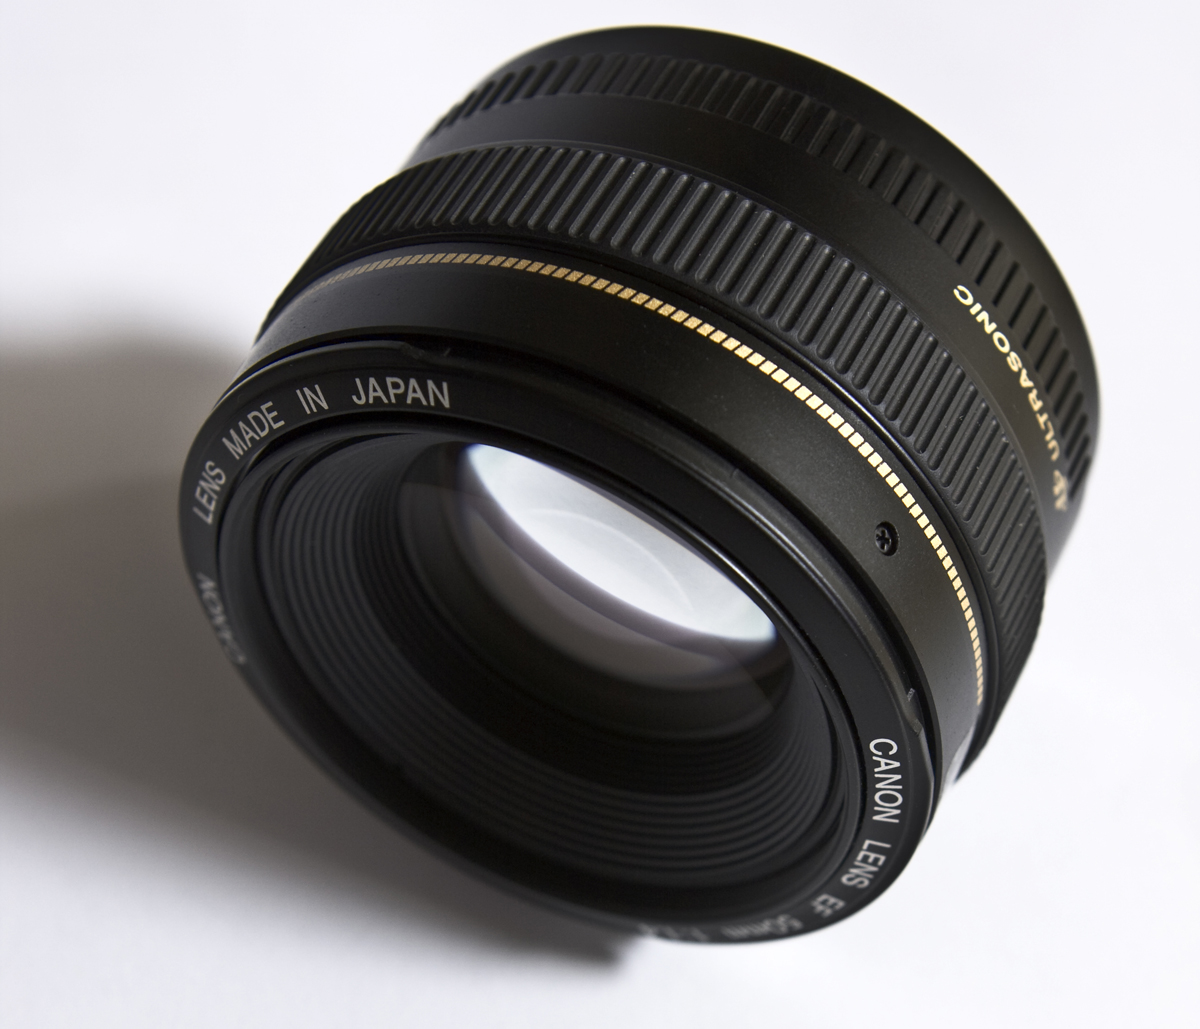 English: This image shows a "Canon EF 50mm f1.4 US...
some microscopes might have extra features, such as the coarse focus, condenser adjustment, illuminator, diaphragm, etc, but the basics are the 5 components stated before. The effects of the 5 components are as follows:1. Objective lens ÃÂ Used to enlarge object and to invert objects into a real image.
2.Eyepiece lens ÃÂ Simple magnifier. Used to view the image formed by the objective lens.
3.Stage ÃÂ used to place object such as an extract of cell from a plant, fibre of a string, etc.
4.Light source ÃÂ used to send light (image) from the object to the objective lens5.Focus ÃÂ moves the objective and eyepiece lens away or close to the object in order for finer view of the image.
The formula, which Robert Hooke used as a reference to find out the ratio of ÃÂdistance of 2 lensÃÂ to ÃÂfocal lengthÃÂ to ÃÂobjective lens to objectÃÂ, was:1/f = 1/v + 1/uWhere f is the focal length, v is the distance between the lens and image, and u is the distance between the lens and the object.
Although light microscopes are used everywhere around the world, its ability to magnify fine details is very limited as the refractive materials used to manufacture the lenses are not perfect enough to refract the light totally, perfectly and accurately. Also, light microscopes are only capable of imaging 2 dimensional images only, whereas, some other types or microscopes can take images into 3 dimensional shapes. However, this is not a big problem, as the only information needed in order for a successful experiment at this point of time, is lenses which are capable to magnify images up to 20, and the formula which will be used throughout does not take in consideration whether the image is 2 dimensional or 3 dimensional. Therefore, as a first step into the wide world of optical physics, by studying the effects of light microscopes is extremely essential.
Hypothesis:The shorter the focal length, the magnification should be large and the further apart the two lenses are, the total magnification should be larger. Also, the theoretical and the actual magnification should be the same, as the theoretical magnification..
Apparatus:*6 Convex Lenses (2x 10cm, 2x 20cm, 2x 30cm convex lenses)*Retort Stand*Clamp*1m ruler*30cm ruler*Screen*Prop (Lens stand)*Light sourceMethod:1.Measured the focal length of each convex lens. (Please see the discussion section to find out the method used to measure the focal length.)2.Before setting up the experiment, the stimulus material was done to make sure the group was right on track.
3.Created a spreadsheet on excel to be used as a reference to find out the distance from the objective lens to the actual object and to compare the total magnification.
4.Both 10cm objective lens and 10cm eyepiece lens were placed exactly 30cm away from each other.
5.The object was placed 19.047cm away from the objective lens. (Referring to spreadsheet)6.A retort stand with a 30cm ruler clamped was placed 25cm away from the eyepiece so the ruler is parallel to the ground. (Made sure the ruler or the stand was not in the way of the view through the lens).
7.Looked through the eyepiece lens and measured the width by using the 30cm ruler which is 25cm away from the eyepiece lens and recorded the data8.Methods 4 ÃÂ 7 were repeated with all sorts of lens with difference focal length and distance apart.
Results:(Spread sheet attached after the graphs)Graph 1:Graph 2Graph 3:Graph 4:Graph 5:Graph 6:Graph 7:Graph 8:Graph 9:Discussion:Errors:In order for a successful result and therefore a successful experiment, there were few variables, which were taken into consideration to avoid mistakes that could have influenced the results:1.The focal lengths of the lenses were measured to find out the most accurate focal length. This was important, as focal length is the part of the formula and with an inaccurate focal length, the formula will also become inaccurate.
2.The lens placed on the prop was made sure that it was not tilted.
3.All measurements were checked by every person to avoid human error.
4.Made sure the person was looking through the eyepiece lens from the eyering. This was done to avoid measuring distorted image or bent image.
5.Placed every material (lens, object, stand, etc) to the closest millimetre.
6.Avoid parallax error.
After all these variables were taken into consideration with extra care, the experiment was able to be done quickly and also was able to be done carefully.
As it can be seen on the first 3 graphs, the theoretical magnification and the actual magnification differs so much compared to the other 6. Although the graphs from graph 3 ÃÂ 9 might have small differences between the actual and the theoretical magnification, they only differ by +/- 2. Through out the experiment, the group re-did every single experiment again and again till the difference between the 2 magnifications was +/- 2. This does NOT mean the U values were changed according to the mistake, or the ruler was moved according to the mistake. This means the group had re-set up the experiment so the variables stated above did not influence the results, and so the values were accurate and as close to the theoretical U value. However, for the first 3 results, although the experiment was re-set up few times, the actual magnification values were off the theoretical magnification value by over 2+. Also, somehow the actual magnifications were always more then the theoretical magnification. After making sure all these variables were taken into consideration, there were still extremely huge errors. Why could this be possible? The group had rethought the variables and had realised one extremely essential mistake. The group had forgotten to make at least 3 attempts when measuring the focal lengths of the lenses given out. Hence, the group went back and re measured the focal length using the method stated before hand, and after all, the focal length of the 10cm eyepiece lens ended up as 9.9cm instead of 11.9cm. Although this was only 2cm difference, in optic physics, this 2cm can make an immense difference. Therefore, the first 3 graphs were remade according to the mistakes. (Please see graphs on the next 2 pages.) As it can be seen on the 3 graphs, the actual magnification and the theoretical magnification are finally close to each other, proving that there is a relationship between the two.
Method used to find the focal length of the lenses:Although the provided lenses were said to be 10, 20 and 30cm focal lenses, they were inaccurate focal lengths, and their focal lengths had to be reconsidered. The method was to place the lens stand with the lens so it sits right next to the window. (The window has to be opened so the sunlight can come through, without distortion and/or any unexpectable variables to take in place.) After doing so a screen was place away from the lens till the image of the outside is formed on the screen. At the point, which the image is sharp, thatÃÂs where the focal length is.
This method can be used using the light bulb instead of using the light from outside, but thinking about accuracy and understanding ÃÂopticsÃÂ, this method was more essential and therefore, it was used.
OpticsAs it can be seen on the graphs on the results section and few graphs on the discussion section, the line which is formed by the total theoretical magnification and the total actual magnification shows a clear relationship, and therefore proves that the formula used to find the total theoretical magnification was not just letters put together, but it is a formula, which helps people to find things which are related to microscopes. Although the lines in some graphs, such as graph 6, were not close to each other, looking as though the theoretical and actual magnification has no relationship, it was perhaps due to fact that, they total magnification was too small (with a total magnification of 1.8), being extremely hard for to measure the width of the image.
However, some did infact, show up successful. (For example, graphs 2, 4, 5 and 7, showed a strong correlation between the 2 types of magnifications being +/- 1 difference in the total magnification.) And therefore, then again, proves that the formula is correct.
After all, there were few errors made throughout the experiment, which made slight problems in the results, but these errors had been successfully overcomed and the group was able to end the experiment successfully. The group was able to learn the wide world of physics and also learnt how much errors can influence results. There were few voices in the class asking what the point of this experiment was, when there is a formula which can find out the total magnification extremely fast and as 100% accurate. After going through the steps as the stimulus material explains and going through the experiment, the groups were able to ÃÂphysicallyÃÂ learn physics with our bodies instead of ÃÂmentallyÃÂ knowing physics on paper, and canÃÂt imagine what the formula is trying to explain.
In conclusion, this experiment was done successfully, showing a strong correlation between theoretical and actual magnification.
ConclusionThe hypothetical guess was correct. The shorter the focal length, the magnification was larger and the further apart the two lenses were, the total magnification was larger. Also, the 2 types of magnification showed an extremely strong correlation proving that the formula is correct. The experiment was also able to teach the group how ÃÂerrors can be very influentialÃÂ and therefore, this experience will be carried along in their future experiments, so that there will be as minimum errors as possible.
Reference:Sites:http://www.digiscope.eu.com/handheld_microscope/light_microscope.htmlhttp://static.howstuffworks.com/gif/light-microscope-diagram-3.gifhttp://www.ruf.rice.edu/~bioslabs/methods/microscopy/microscopy.htmlAll accessed on 20.10.2006 [ONLINE]Search Engines:www.google.com.au
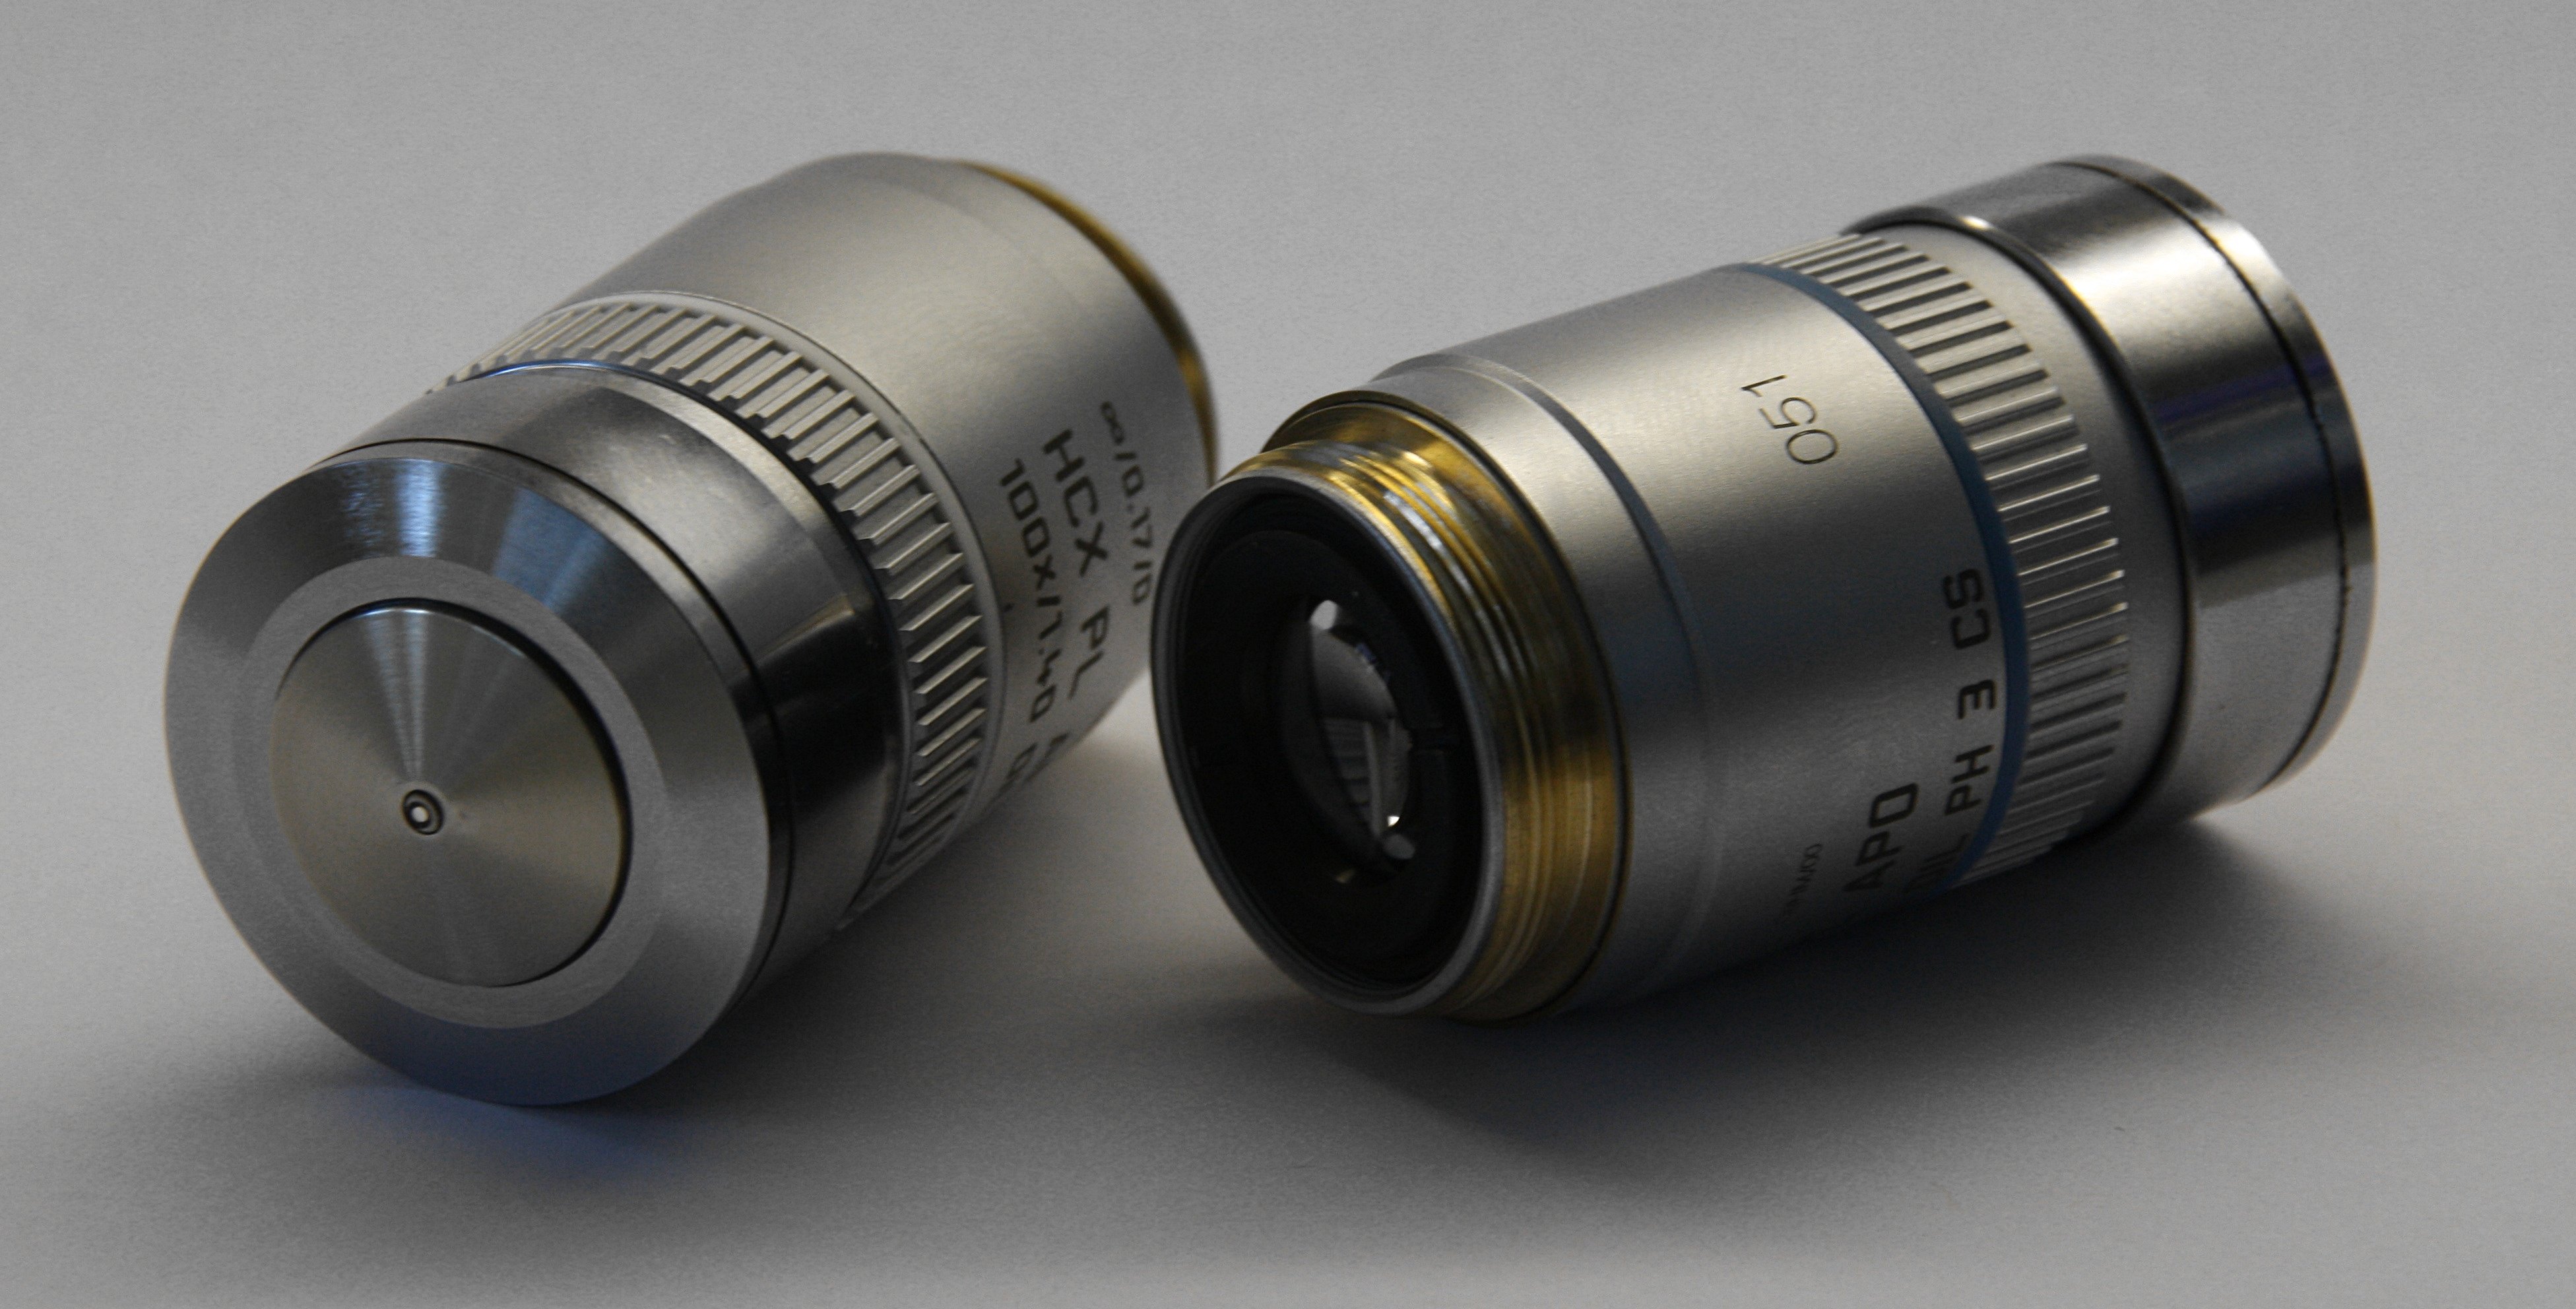 English: Two Leica oil-immersion epifluorescence m...
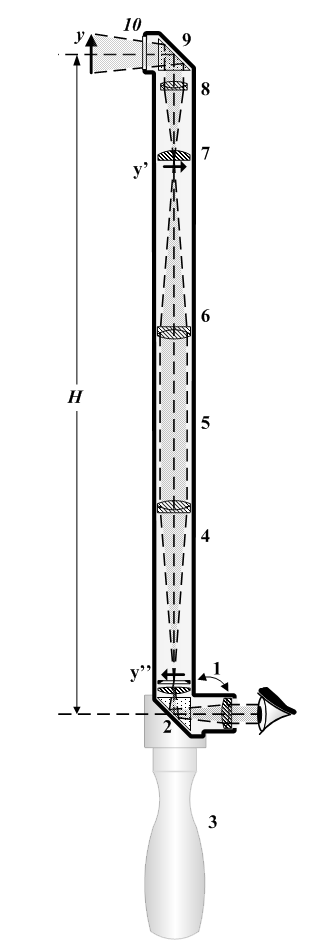 English: Portable handheld periscope cross section...
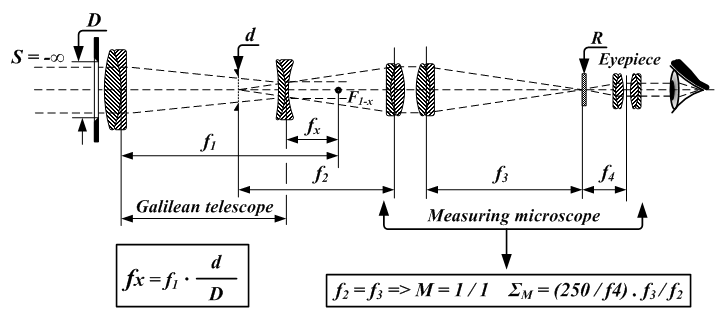 Measuring focal length of a negative lens.