Okay, all this stuff is going to be confusing at first, when you're just reading itâ¦but look this over, and hopefully you'll be somewhat familiar with the processes. I got these notes off a website, and am going to fit them to how we do it. This is incredibly long and boring, it'll be 100% less confusing when I show you.
Developing Film: In total darkness remove your film from the cartridge. Do this, by popping off one end of the film cartridge, and pull out the film. It will be still attached to the middle column. Handle the film by the edges only. Take scissors and cut off the taped part attached to the middle column. Roll the film into the reel. Place the black tube for the tank through the hole in the reel. Put the reel into the tank, and secure the lid. You can now turn on the lights.
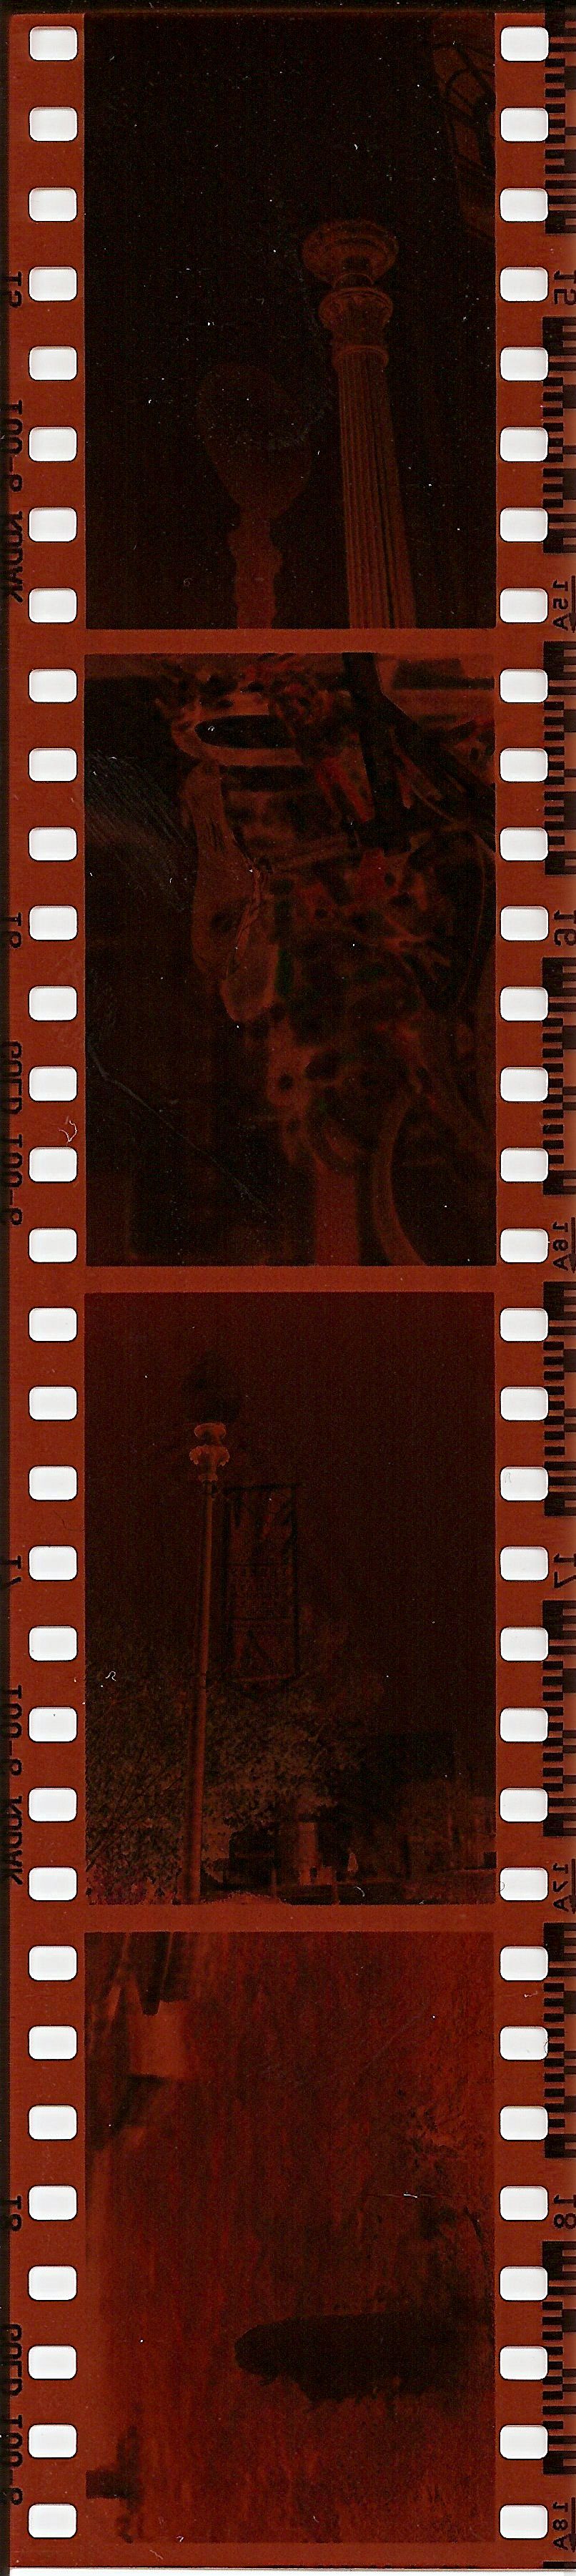 English: A scan of a filmstrip made by me of shots...
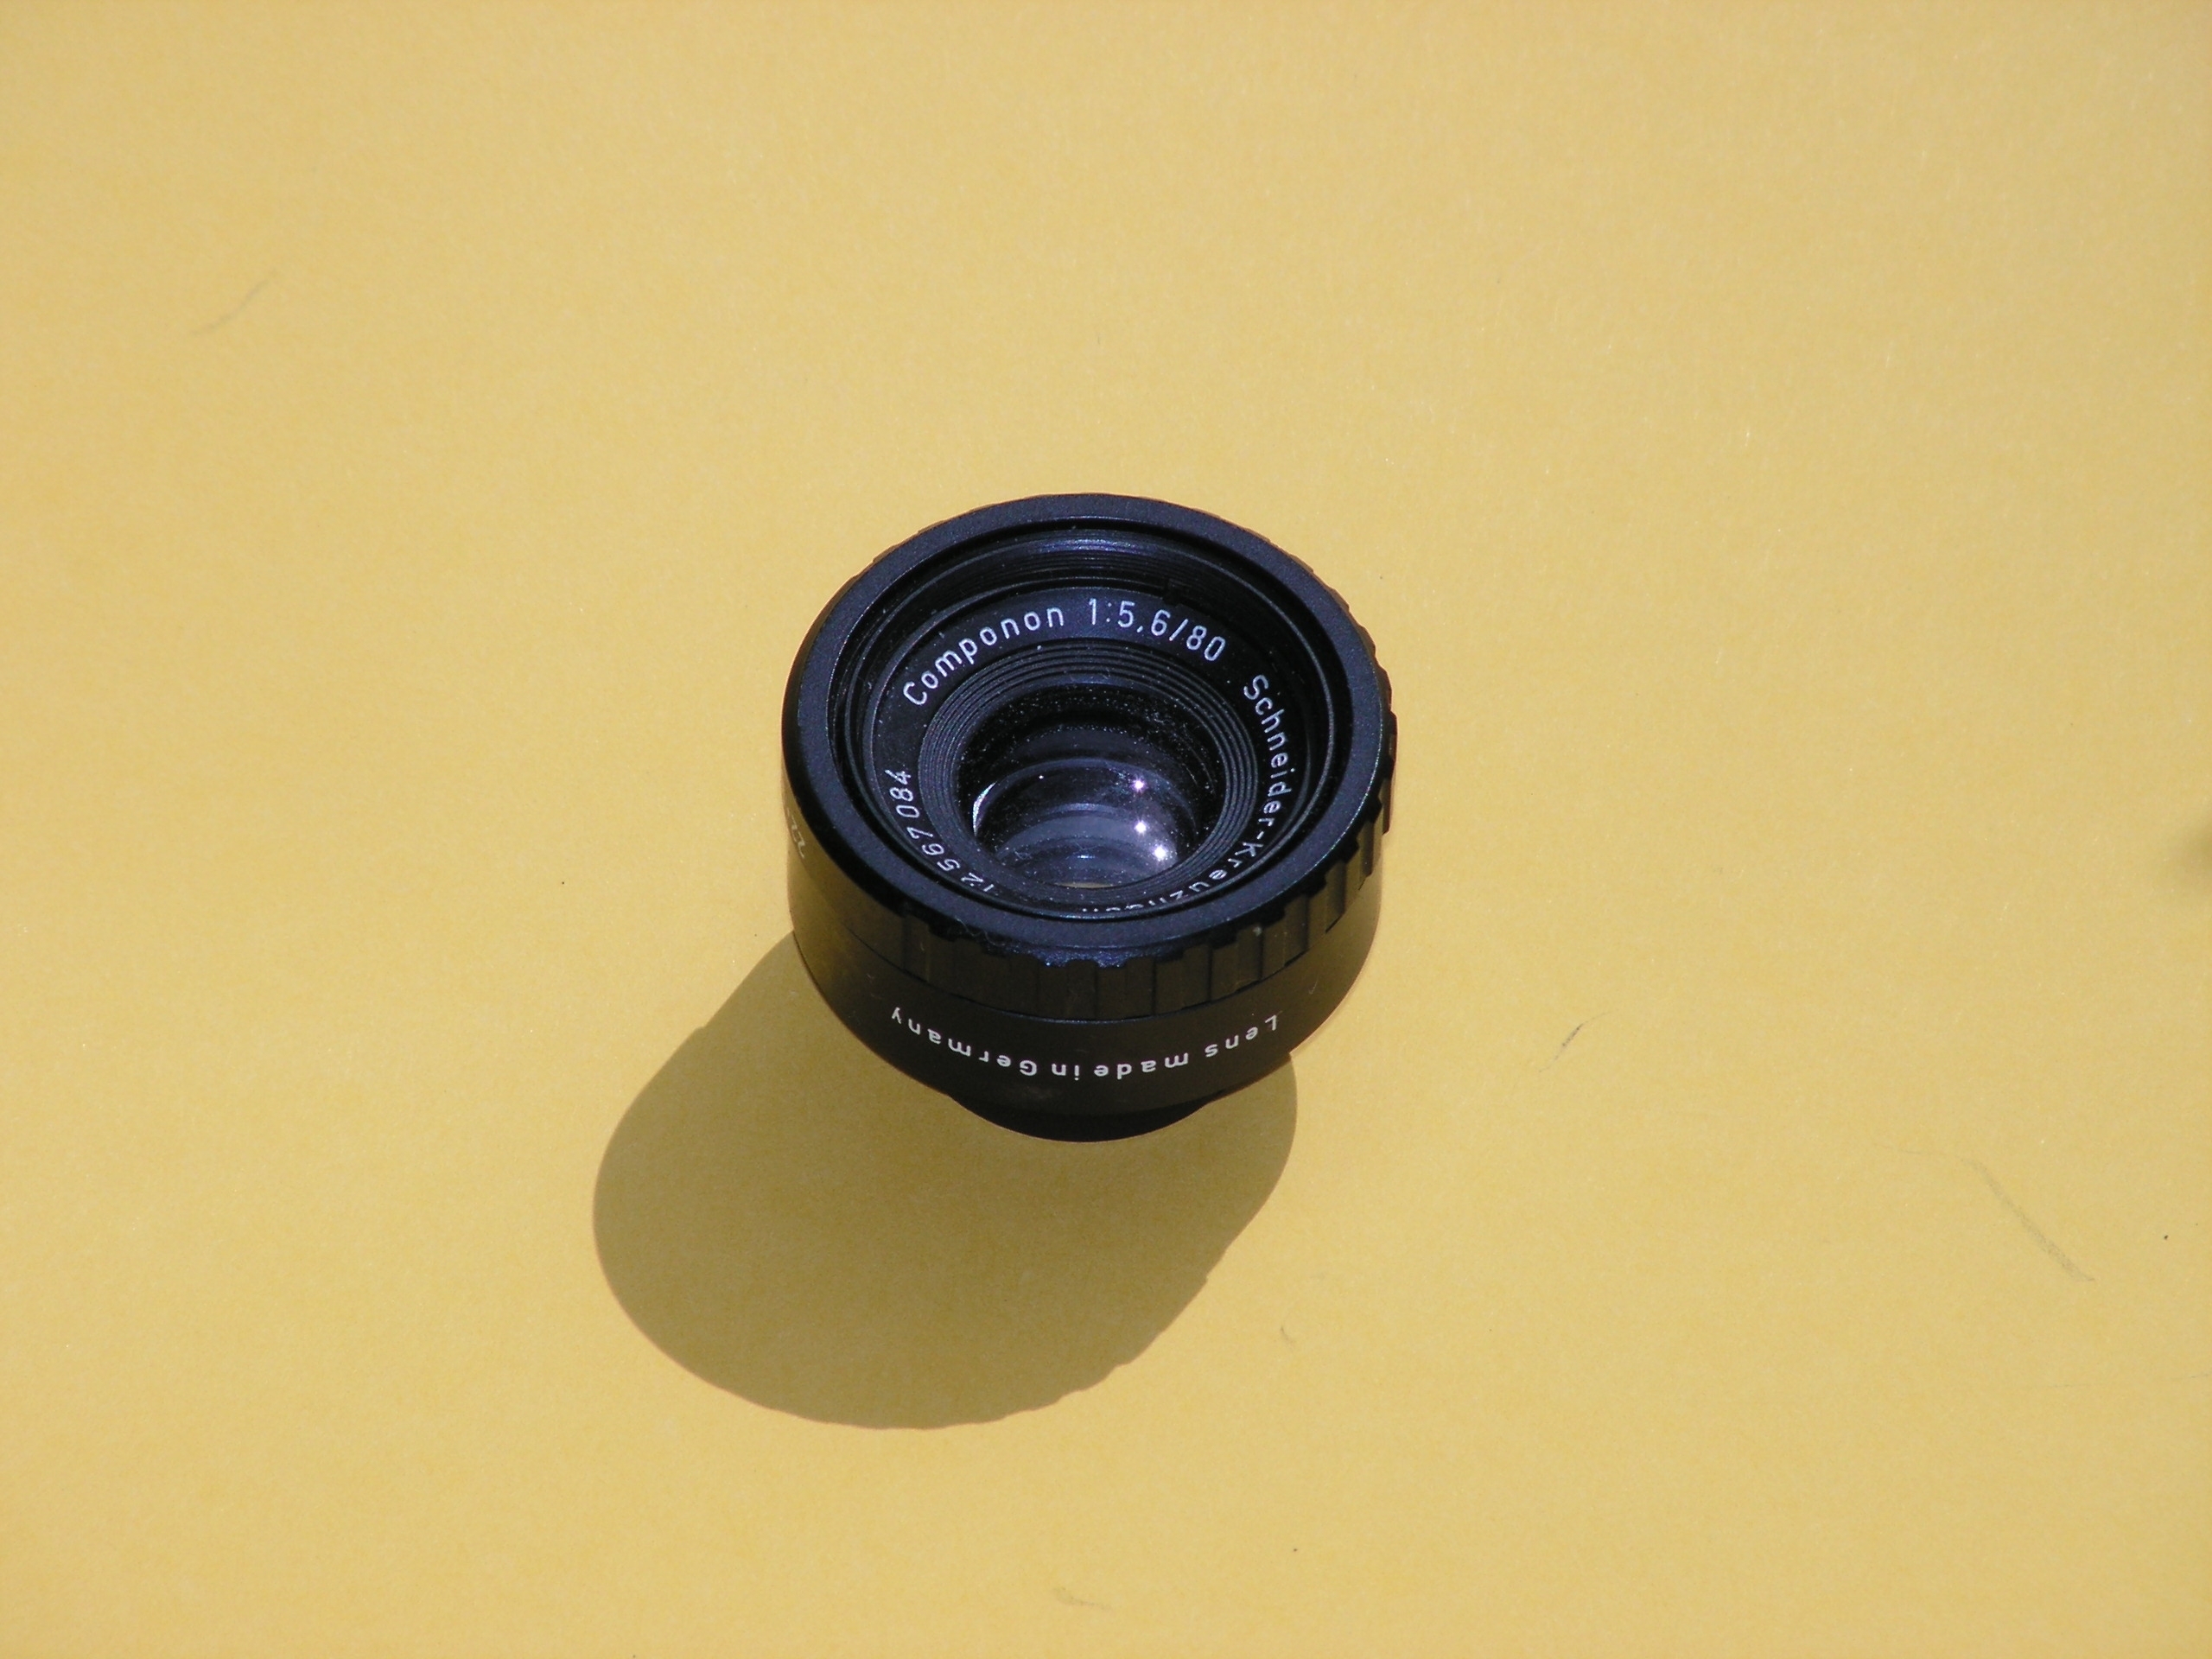 Lens for negative film enlarger. Componon 5,6/80mm...
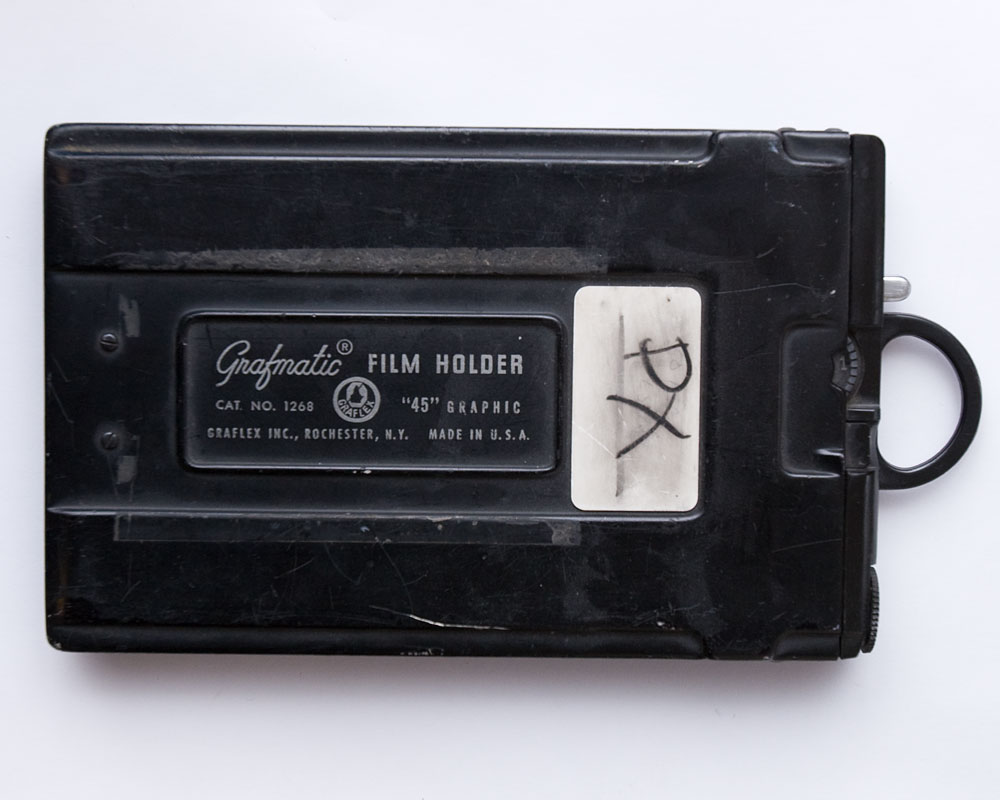 Graflex Grafmatic Film Holder
If you're developing two reels of film, measure 10 ounces of film developer. Add an additional 10 ounces of water. Take temperature of the water. Look at chart, and determine developing time. Agitate by shaking slightly for first minute, and at each additional half-minute, agitate and tap to get rid of all air bubbles. Once time is over, dump into sink, and then pour into the tank 20 ounces of stop bath. One minute of agitation will work for the stop bath. Dump back into the stop bath container, using a funnel. Next, pour in 20 ounces of fixer. Agitate for first minute, and agitate and tap every half-minute until a total of 5 minutes overall has passed. Dump fixer back into its container. It's now safe to take of the tank's lid. Rinse film under running water for 10 minutes. Pour in sufficient photo flo and agitate for one minute, dump into sink. Take a yellow-handled squeegee and lightly run over the film. Use a clip at one end to hang up in drying closest, you may also put one at the end to make it straight. Once dry, cut film into 5 negative strips, and place into negative protector.
Developing Pictures: In dark room, you'll first start by looking at the layout of the place. At school, there will be about ten stations on tables surrounding the wall. In the middle, there's a sink type thing, that's about 6 feet long, 2 feet wide. In it, you'll find two trays of developer, one of stop bath, two of fixer, and a huge tub with running water in it, in that order. Take out film holder of the enlarger. Take your negatives, which are in the protector, and place under glass. You always start making a print by running a test strip. Take a strip pre-cut, and place under negatives. Set light aperture at lowest setting, and have the time set at 5 seconds. Use a piece of cardboard to cover 3/4ths of the test strip, and hit run. Then, cover only half, hit run again. Cover 1/4th, hit run, and then hit run again when it's not covered at all. The reason we do this, is to determine the amount of time to set the enlarger at. Develop the test strip, by placing in the developer for about 1 minute, then stop bath for another minute. (I don't ever finish the process; I just look at the times, and then throw it away) To determine the amount of time needed, look at the distinct intervals. Choose which is clearest, if it was the 3rd darkest one, that would take 15 seconds, the darkest one would take 20 seconds, etc. Set timer at say, 15 seconds. Place full sheet of photographic paper under the negatives. Push run, and then develop the picture; one minute in developer, one in stop bath, four in fixer, and four in the water. The purpose of making this, what we call a proof sheet, is to get a good idea of the pictures you have. Dry by blotting excess water, then lay flat to dry or use a blow dryer. To make a real print, choose which negative to use. Place that negative strip in the negative holder, and position so that the one you chose appears. Turn the light aperture all the way up, to assist in seeing what you're doing. Raise or lower enlarger to make larger, smaller picture you want. Focus picture, by looking at the grain of your picture. Run a test strip, exactly as described above. Develop it same way. Do the real print the same way, develop that the same way too. That's about it!
 English: EL-Nikkor lens mounted on a Besseler 45M ...
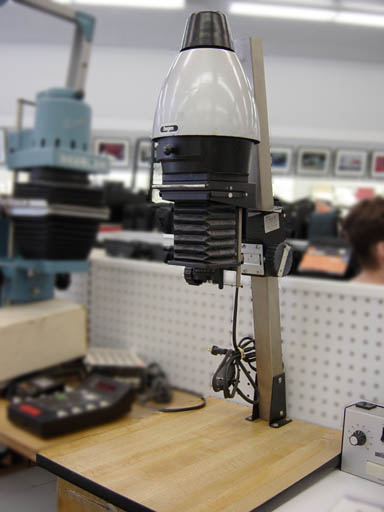 English: Picture of Bogen enlarger with digitally ...
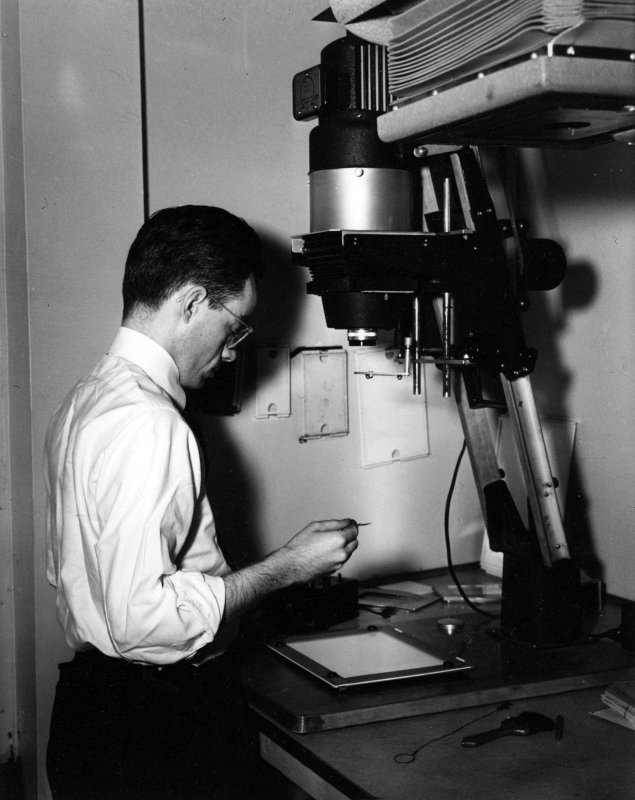 Enlarging a B/W Negative, 1950 or 1951. : Using my...