THE PROCESS OF MAKING AN ELECTRIC UKULELE
By Gwendal Cavelier
The Ukulele is a small four-stringed guitar popularized in Hawaii. An electric version of this traditional instrument would have a more metallic sound. It could also be plugged to several effect modules such as a whammy bar and the wah-wah pedal; complementary possibilities allowing musicians to explore and develop new sounds with their instrument. This new generation of ukulele would be appropriate in rock bands and could even compete with the lead guitar.
Will it overtake the guitar in the next generation rock bands? That is yet to seeâ¦
Here are the steps to manufacture the electric ukulele.
1) Building the headshock.
The headschok, which is a triangular piece of wood , is first roughly cutted with a coping saw. The final shaping of the object is obtained by using coarse sandpaper. Its dimensions have to be about ten centimeters long, five centimeters wide and two centimeters thick.
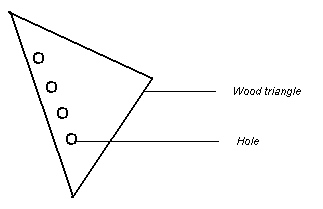 Figure 1
 Figure 2
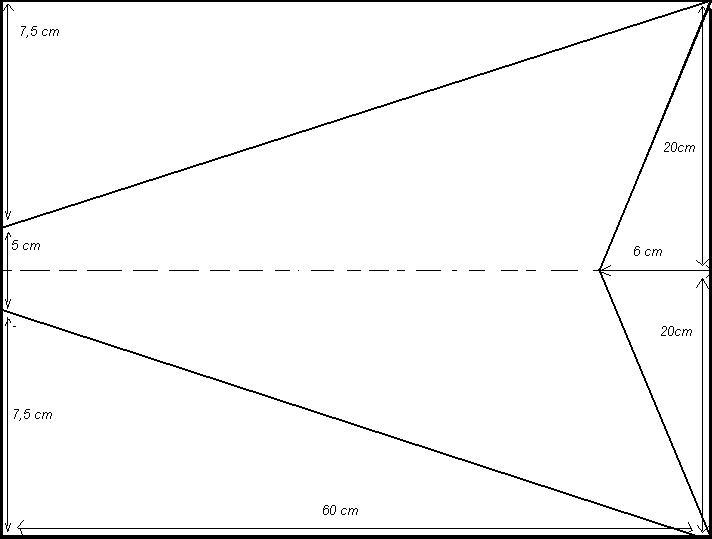 Figure 3
The next step of the process is to spray laquer on the headshock . Once the wood triangle is dried, four holes are drilled in it, in straight line, following the left side of the device. This holes have to be large enough (about ten milimeters) to house the four string guides which can be bought from an electric guitar retailer. Fixing these guides (and the associated keys) into the device constitutes the the last step of the process.
2) Realizing the neck
The necks is composed of three main elements : fifteen metal frets, a rectangular rosewood fretboard (24x5x0,7 cm) , and an exotic wood neck body (20x5x2cm). After having sanded out and laquered the neck body , the two pieces of wood can be glued together so that their tops are confonded. Fifteen cuttings are then made with a saw in the fretboard each one point five centimeters . Their depth should be about three milimeters. In the last step, the frets are hammered in with a dead blow hammer with plastic head.
3) The body
a) Cutting The Body
For the body, a 60x40x6 cm exotic wood board is needed. Its shape (see pattern below) is first traced onto the board with a pencil. The body is then cut out with a jig saw.
The only places where the cutting are particularly bad are the sharp curves near the horn and where the neck will ultimately be attached. To square up the body and ensure that the edges are truly perpendicular to the face and rear of the Ukulele, a router will be used. By using a straight bit and a template, the router can be passed around the ukulele taking off the uneven portions of the cut.
Finishing the entire body this way can require several hours of work and the edges still require sanding before final finishing. It is important to make sure to go slowly because the router can take huge chunks of wood out of the body.
b) Routing pickup cavities , control cavity and Neck Pocket
The first thing to be done in this process is to indicate on the body where the cavities and neck pocket should be. This can be done by first marking the centerline of the body and then using measurements from the plan below. The outlines of the neck pocket and cavities should be carefully drawn on the Ukulele body in pencil.
The neck pocket, pickup and control holes are first drilled using a wide Forstner. The router is then only required to clean up the edges of the cavities, putting less strain on the bit. To finish the cavity that will house the Ukulele's controls, three 1cm large holes have to be drilled.The firstone joining the left side of the body to the cavity, the two others joining the cavity to the pickup holes. These kind of ë tunnels û will be used to drive wires into the body.
c) Painting the body
Before applying the colour coats, all imperfections of the wood have to be sand out. Once the surface to paint is clean and dry, a first light green coat can be sprayed on it .The second coat is applied the day after. The last step of the process is to spray laquer on the body. Leaving it to set for at least 3 days, preferably a week or two will enable lacquer to harden properly.
4) Finishing the Ukulele
First of all, the top of the neck is glued to the headshock. Then, its bottom is glued to the body
Warning : if the two parts to glue don't match perfectly, they have to be adjusted with sand paper. As matter of fact, the Ukulele has to be solid enough to substain the tension of the strings.
The next step are requires : two pickups (high and medium), a control plate, a jack ouput, a four strings bridge and the four metal strings associated. All these components can be bought from a guitar retailer as http://www.guitarcenter.com/.
The two pickups, the control plate and the jack output have to be connected together as specified in their data sheet. The wires should at is step go through the ë tunnels û drilled between the cavities. Once wired, the devices can be screwed into the body. In order to complete the making of the electric ukulele, the set of strings is fixed from the bridge to the guides of the headshock.
19/12/06 - B2
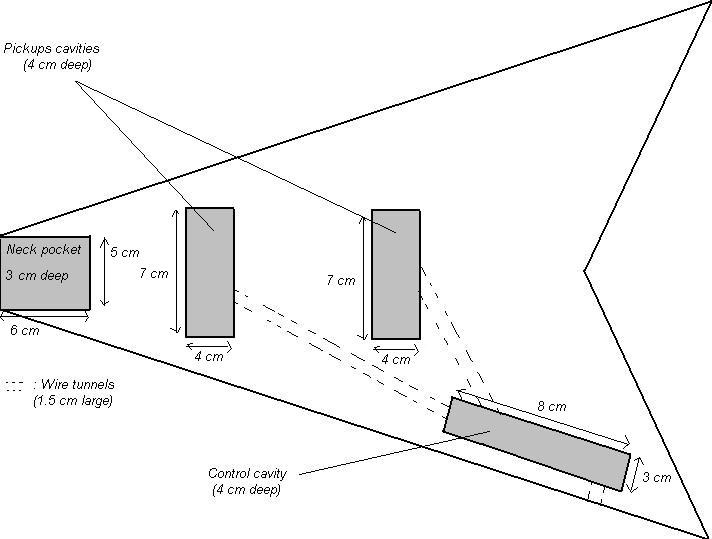 Figure 4
 Figure 5
 English: A red Ukulele, manufactured by Makala
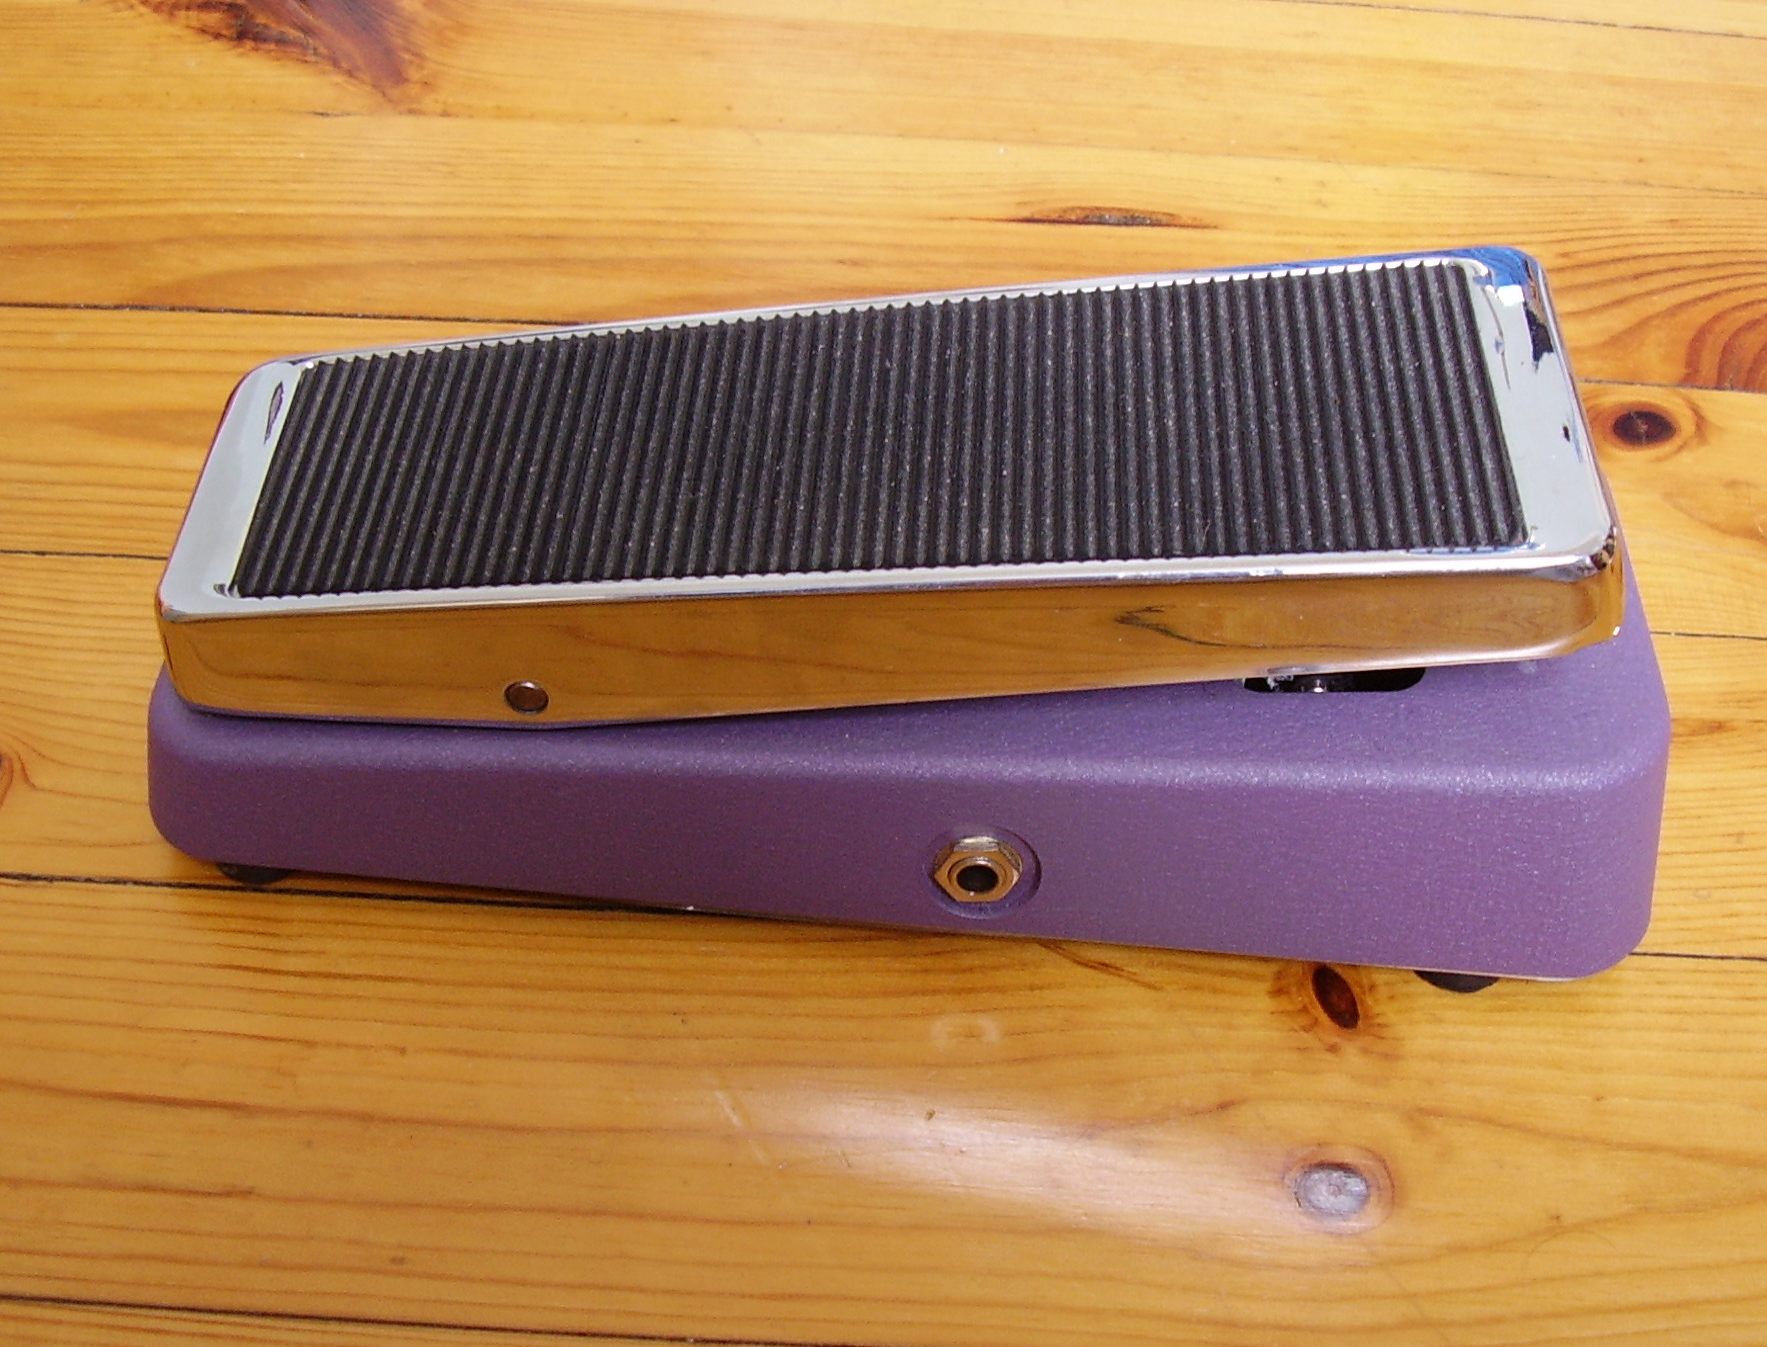 Wah pedal (Budda wah)
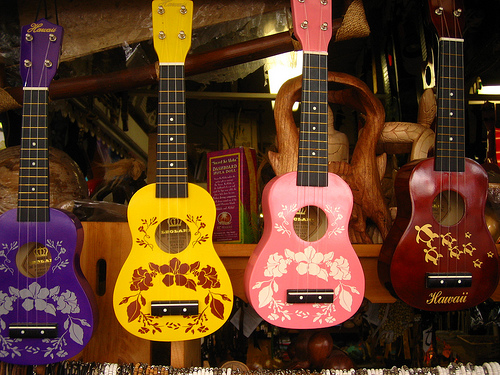 ukuleles
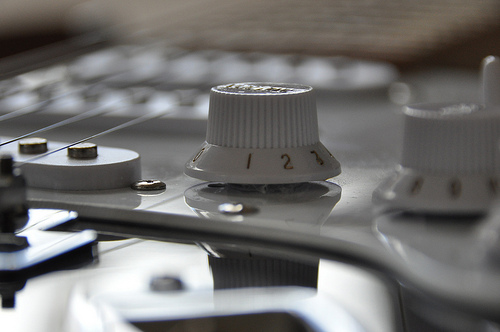 Electric Guitar