At first building a trebuchet seamed like a fun and easy project. However, the mechanics were easily expressed on paper but difficult to duplicate on the machine. Then simple design on paper was misleading compared to how truly difficult it was to build.
Our trebuchet is composed of plywood due to its strength. With the main body of the trebuchet being 18 inches high, 18 inches long and a foot wide.
A 2x4 was used to hold up the axel and throwing arm. The arm was made out of steal due to the fact that it is wieldable and could easily hold up the fifteen-pound weight attached to the end of it. In order for the arm to swing a universal joint from a car drive shaft was used. This allowed the least amount of friction possible for the throwing arm, which is two feet long releasing point to axel, and 8 inches axel to weight.
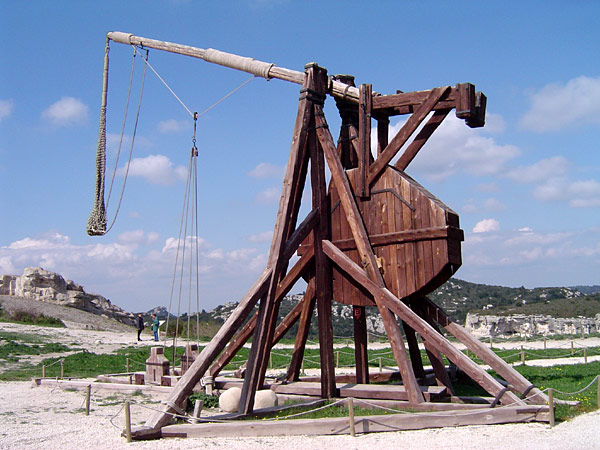 A trebuchet uses the gravitational potential energ...
 trebuchet-8
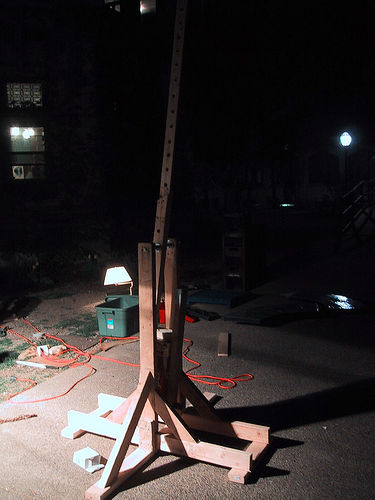 trebuchet-3
Then a steal weight was attached to the end of the arm by drilling into the weight and wielding it to the throwing arm. It has release mechanism, which was made by a screw, two wing nuts and an eyehook. The degree of the eyehook can be change simply by tighten and loosening a wing nut. The greater the degree of the eye hook the longer Finally, sling, made out of an old pair of kaki pant and two strings about a foot long, was attached to the throwing arm with a hose clamp.
However, this was the not the original design of the trebuchet. At First, the weight was hanging, in theory this would add more momentum, and yield a straighter path for the weight to follow, eliminating the need for wheels. A screw and a chain link on each side of the weight held up by a threaded rod through the throwing arm. The throwing arm was about 3 feet long and the sling being about 6 inches.
Unfortunately, with the first launching things did not go as planed. The swinging weight actually had too much freedom taking away momentum and shaking trebuchet violently. To fix the problem two 2X2 wood blocks were added on the front and the back of the trebuchet to give it more support. Again, the swinging weight had too much freedom. It was determined that there were two factors impeding the success of the trebuchet. One being the swinging weight, fixable by wielding it on the throwing arm, and two the throwing arm being to long. Since the counter weight was now fixed, wheels would have to be added. Secondly, it was believed that the throwing arm was to long, so a foot was cut off. These change greatly improved the motion and steadiness of the trebuchet.
Next, we had trouble finding the right design for the sling. A couple different types of material were used for the sling, many of which simply ripped. Also, we tested different styles in attaching the sling. Just two holes pulling the center proved to be more effective than two holes on each side so all four corners would be pulled evenly. And old pant material was chosen for the sling because the stitching was the right width to hold the string and not rip.
Next, a chute was constructed to direct the ball so it would not fall out of the sling. It is constructed out a piece of wood flooring and two pieces of trim nailed together. The chute is a key part of the launch stage ensuring that the projectile has a good start.
Finally the release point was a hard factor to determine, considering that it would work great one time, then the next without changing a variable it would not work. And the weight of the project meant a different angle for the release had to be determined. A heavier projectile tends to pull the loop off the prong earlier than a lighter projectile does. Golf balls ended up being the most successful projectile.
In the end our trebuchet shot the golf ball around thirty-five feet. Unfortunately, the trebuchet was not consistent at all. This may be due to the trigger of the trebuchet; since it is so close to the release mechanism it maybe affecting the release point. Another change that could be made would be to extend the central axel to have it go all the way through the four 2X4, adding more stability.
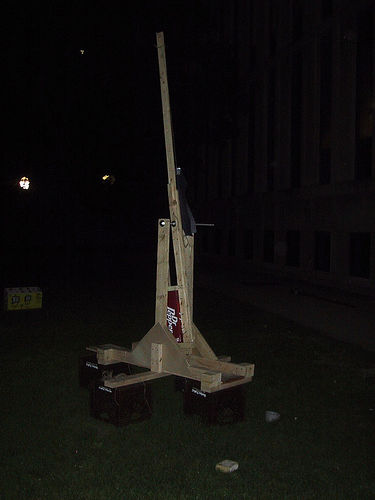 trebuchet-6
 Česky: Obránci hradu
 Home-made sling.