The process of making tiffany style stained glass is quite simple if the correct steps and safety are followed. Other than following the correct steps and safety, knowing the different types of glass, the cost of each piece of glass, and the solutions to different problems that could occur.
Before beginning to work on a stained glass piece, it is important to design a cartoon or to make your own pattern. From this you would make sure you have at least two copies of this drawing, cut out the piece, and then place your pieces on the glass that is going to be used. It is important to make sure that while cutting the area where you are doing so stays clean to avoid damages on the other pieces of glass.
There are up to 13 different types of glass that can be used. A clear, one colored glass, which is easy to work with, is known as cathedral glass.
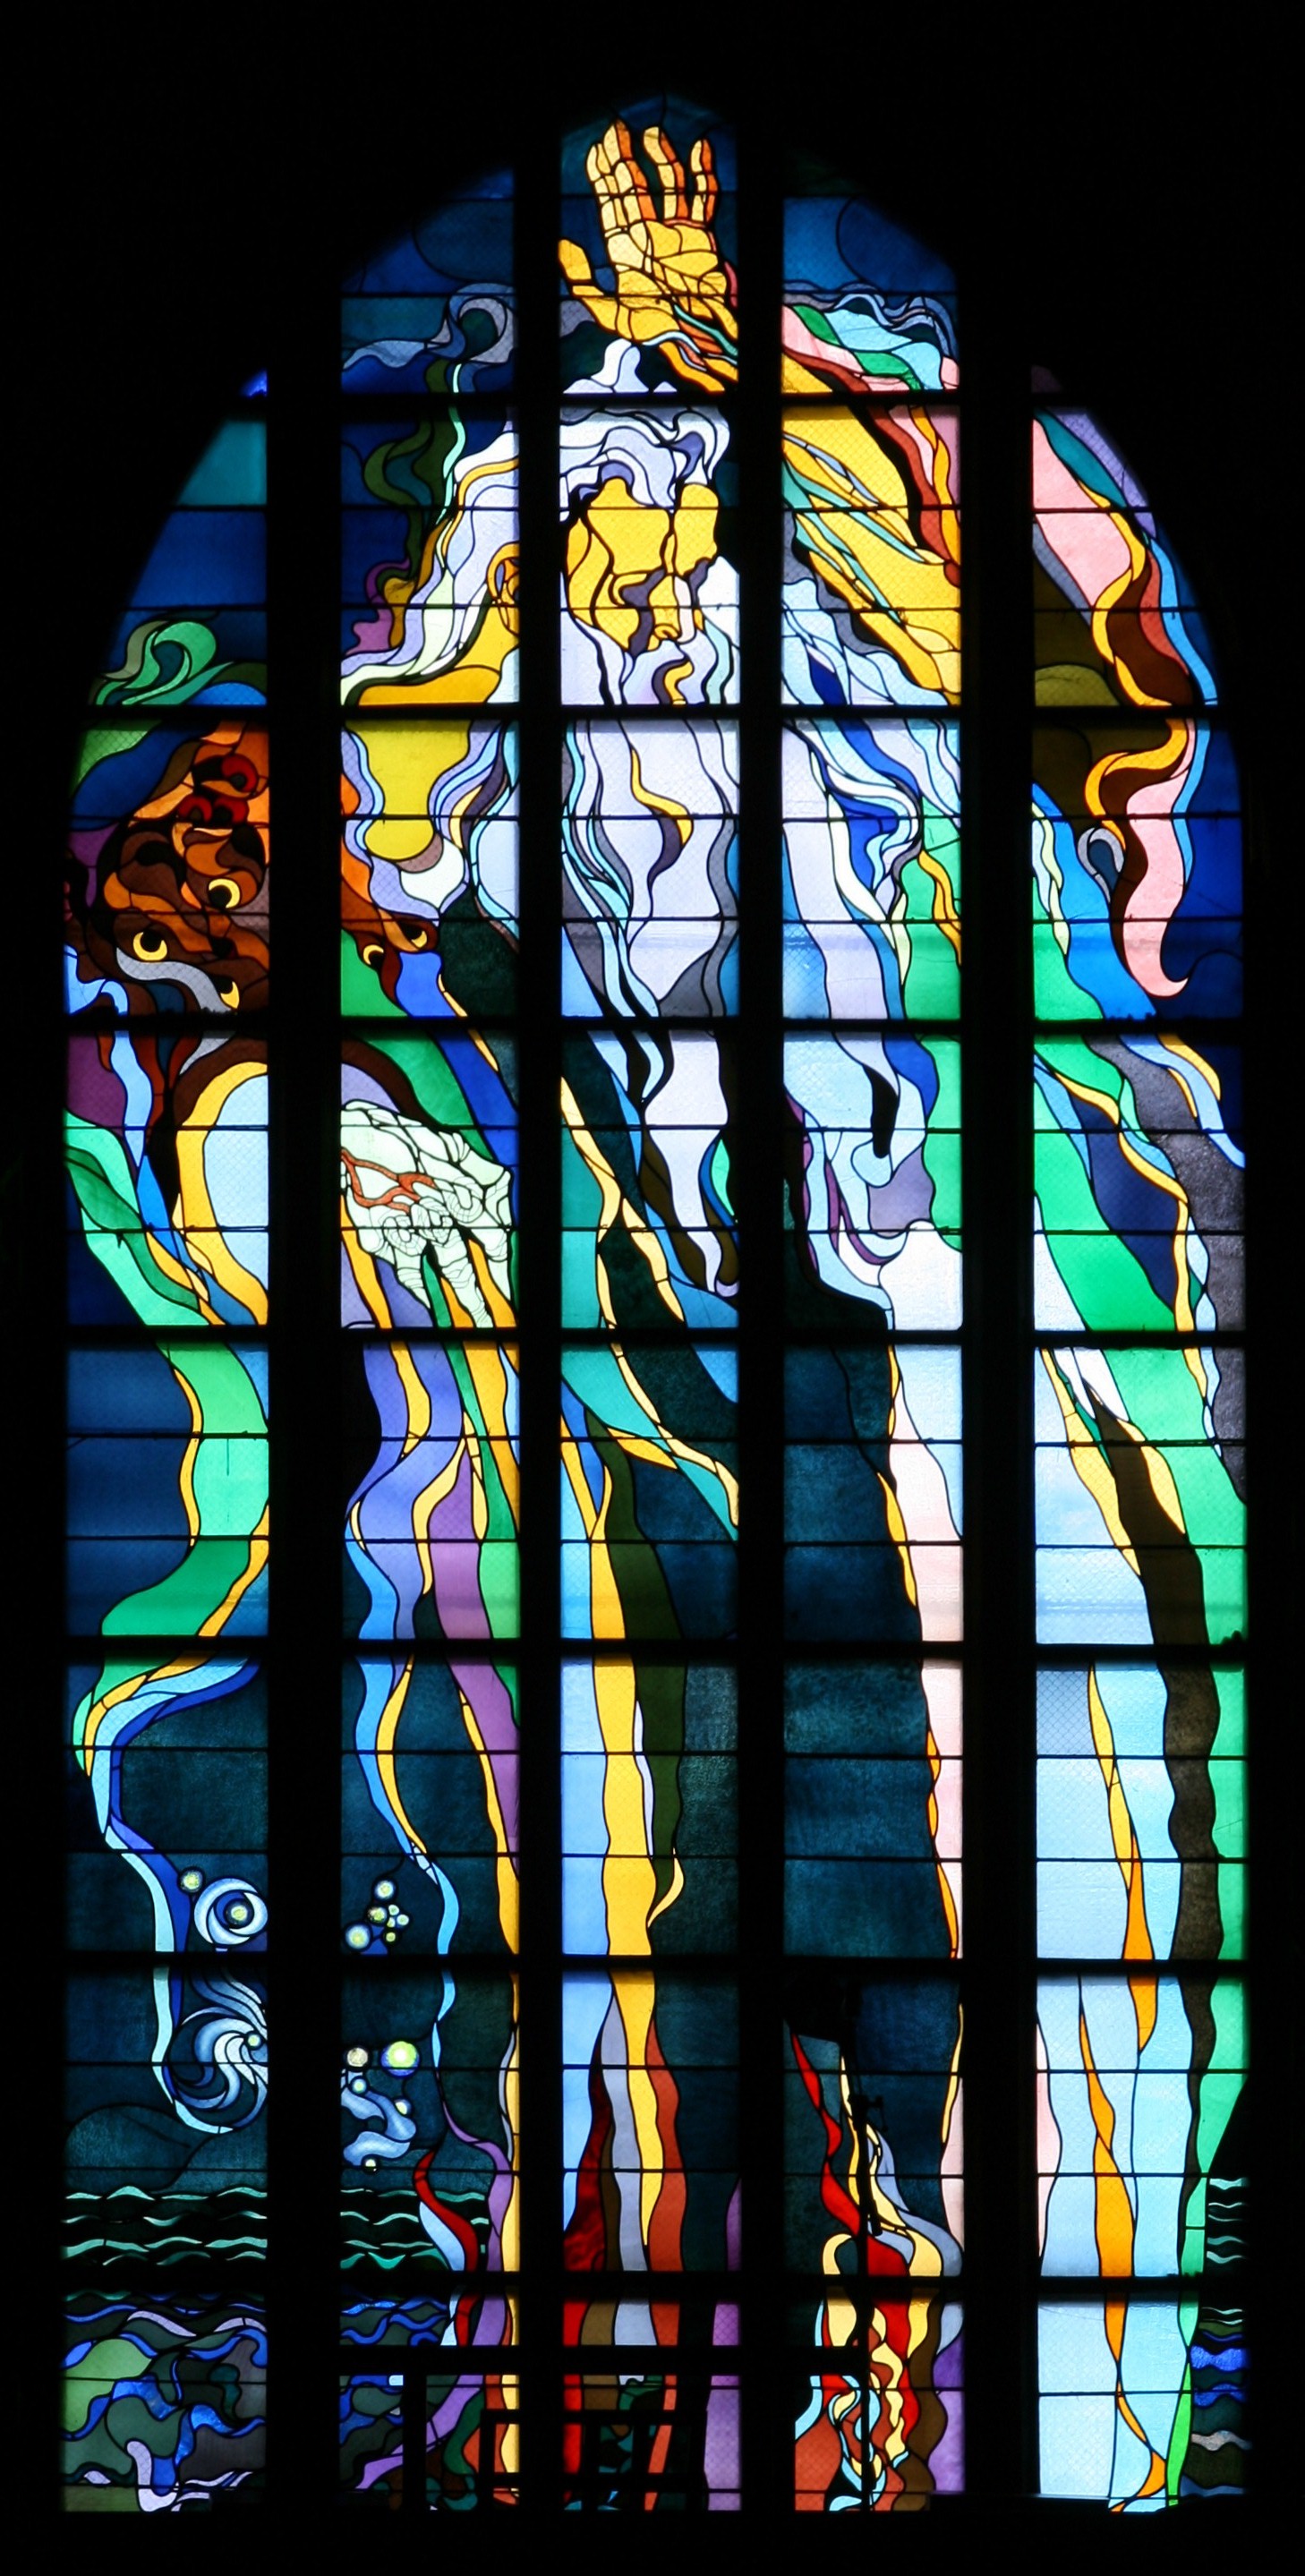 English: Stained glass window made by Stanisław W...
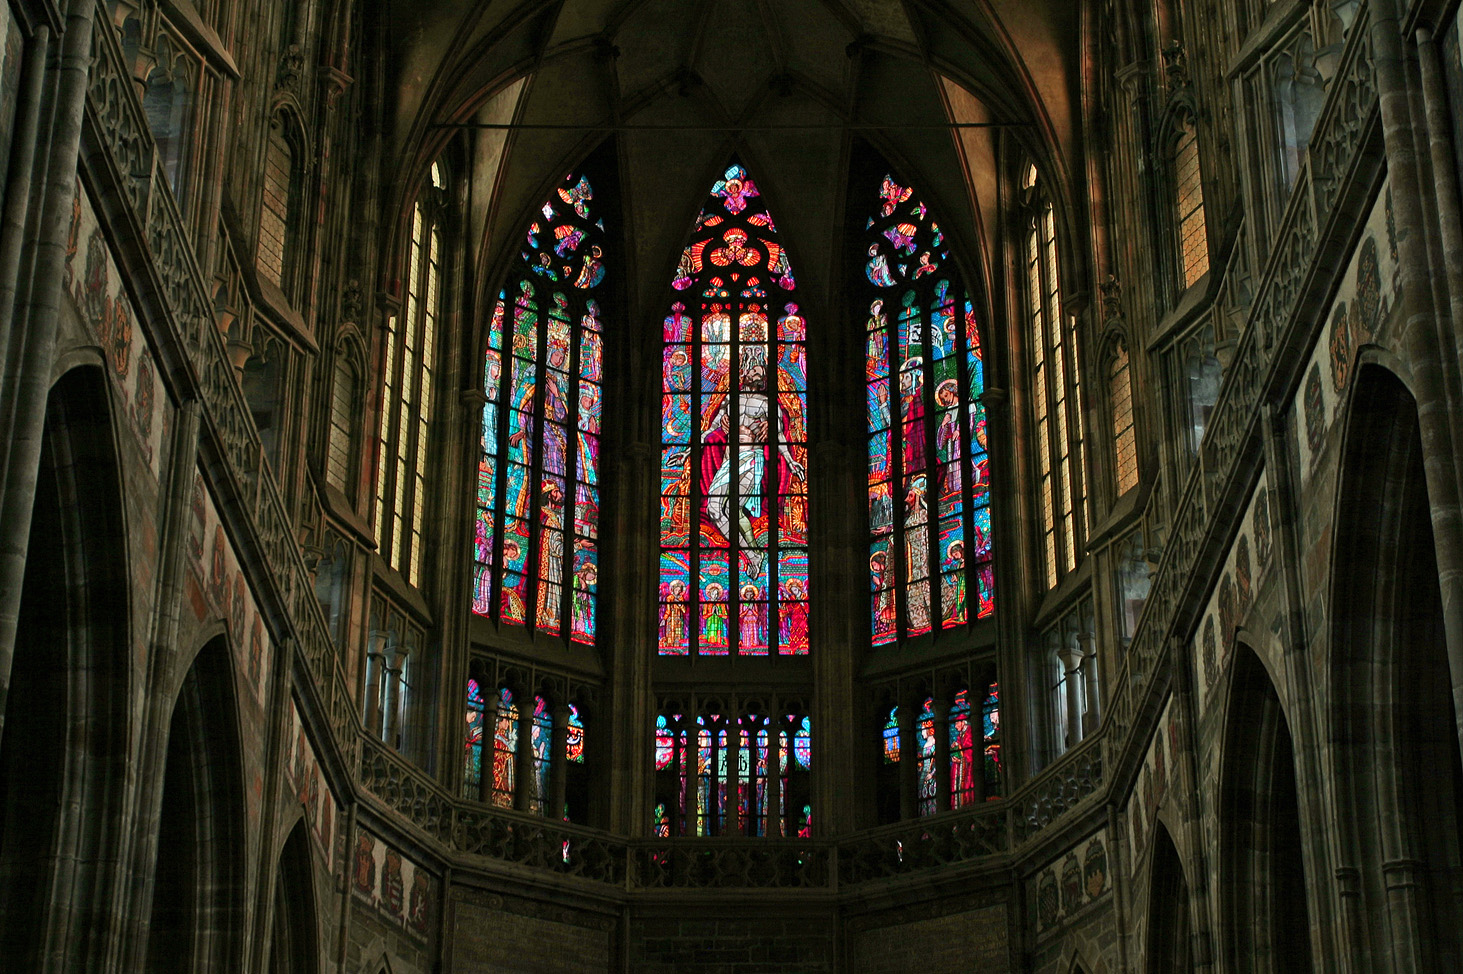
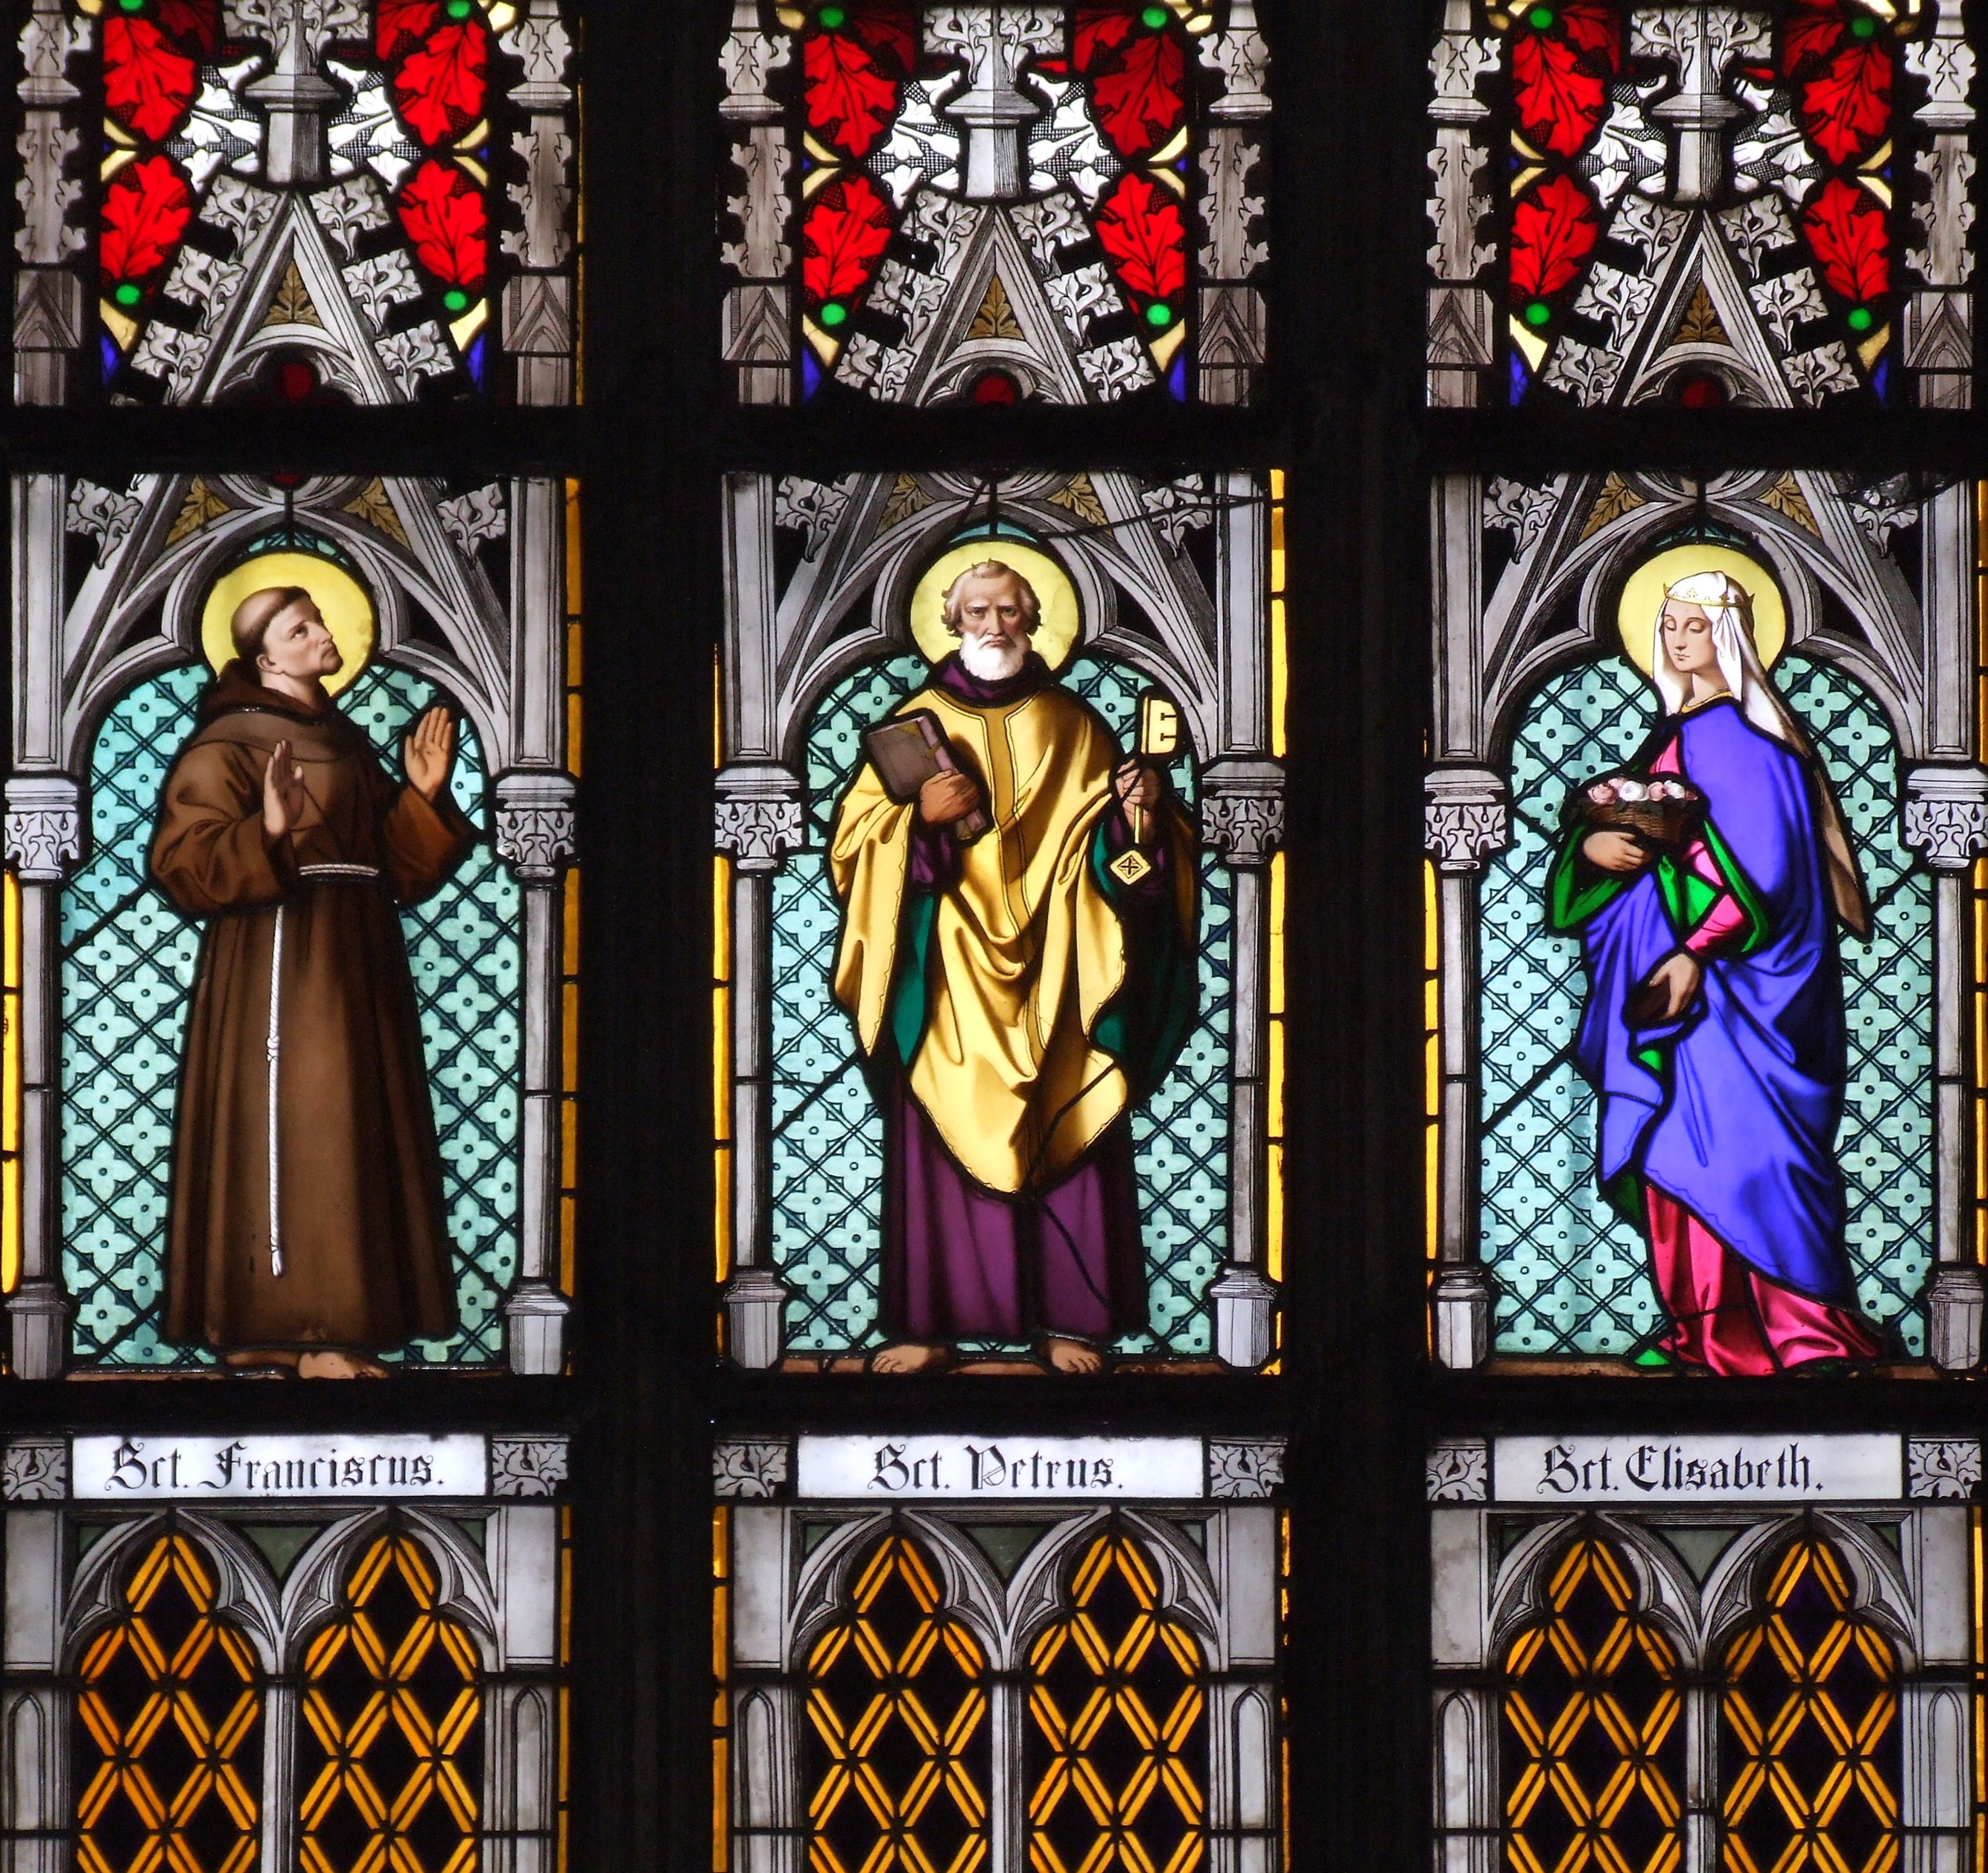 English: Part of stained glass windows in St. Vitu...
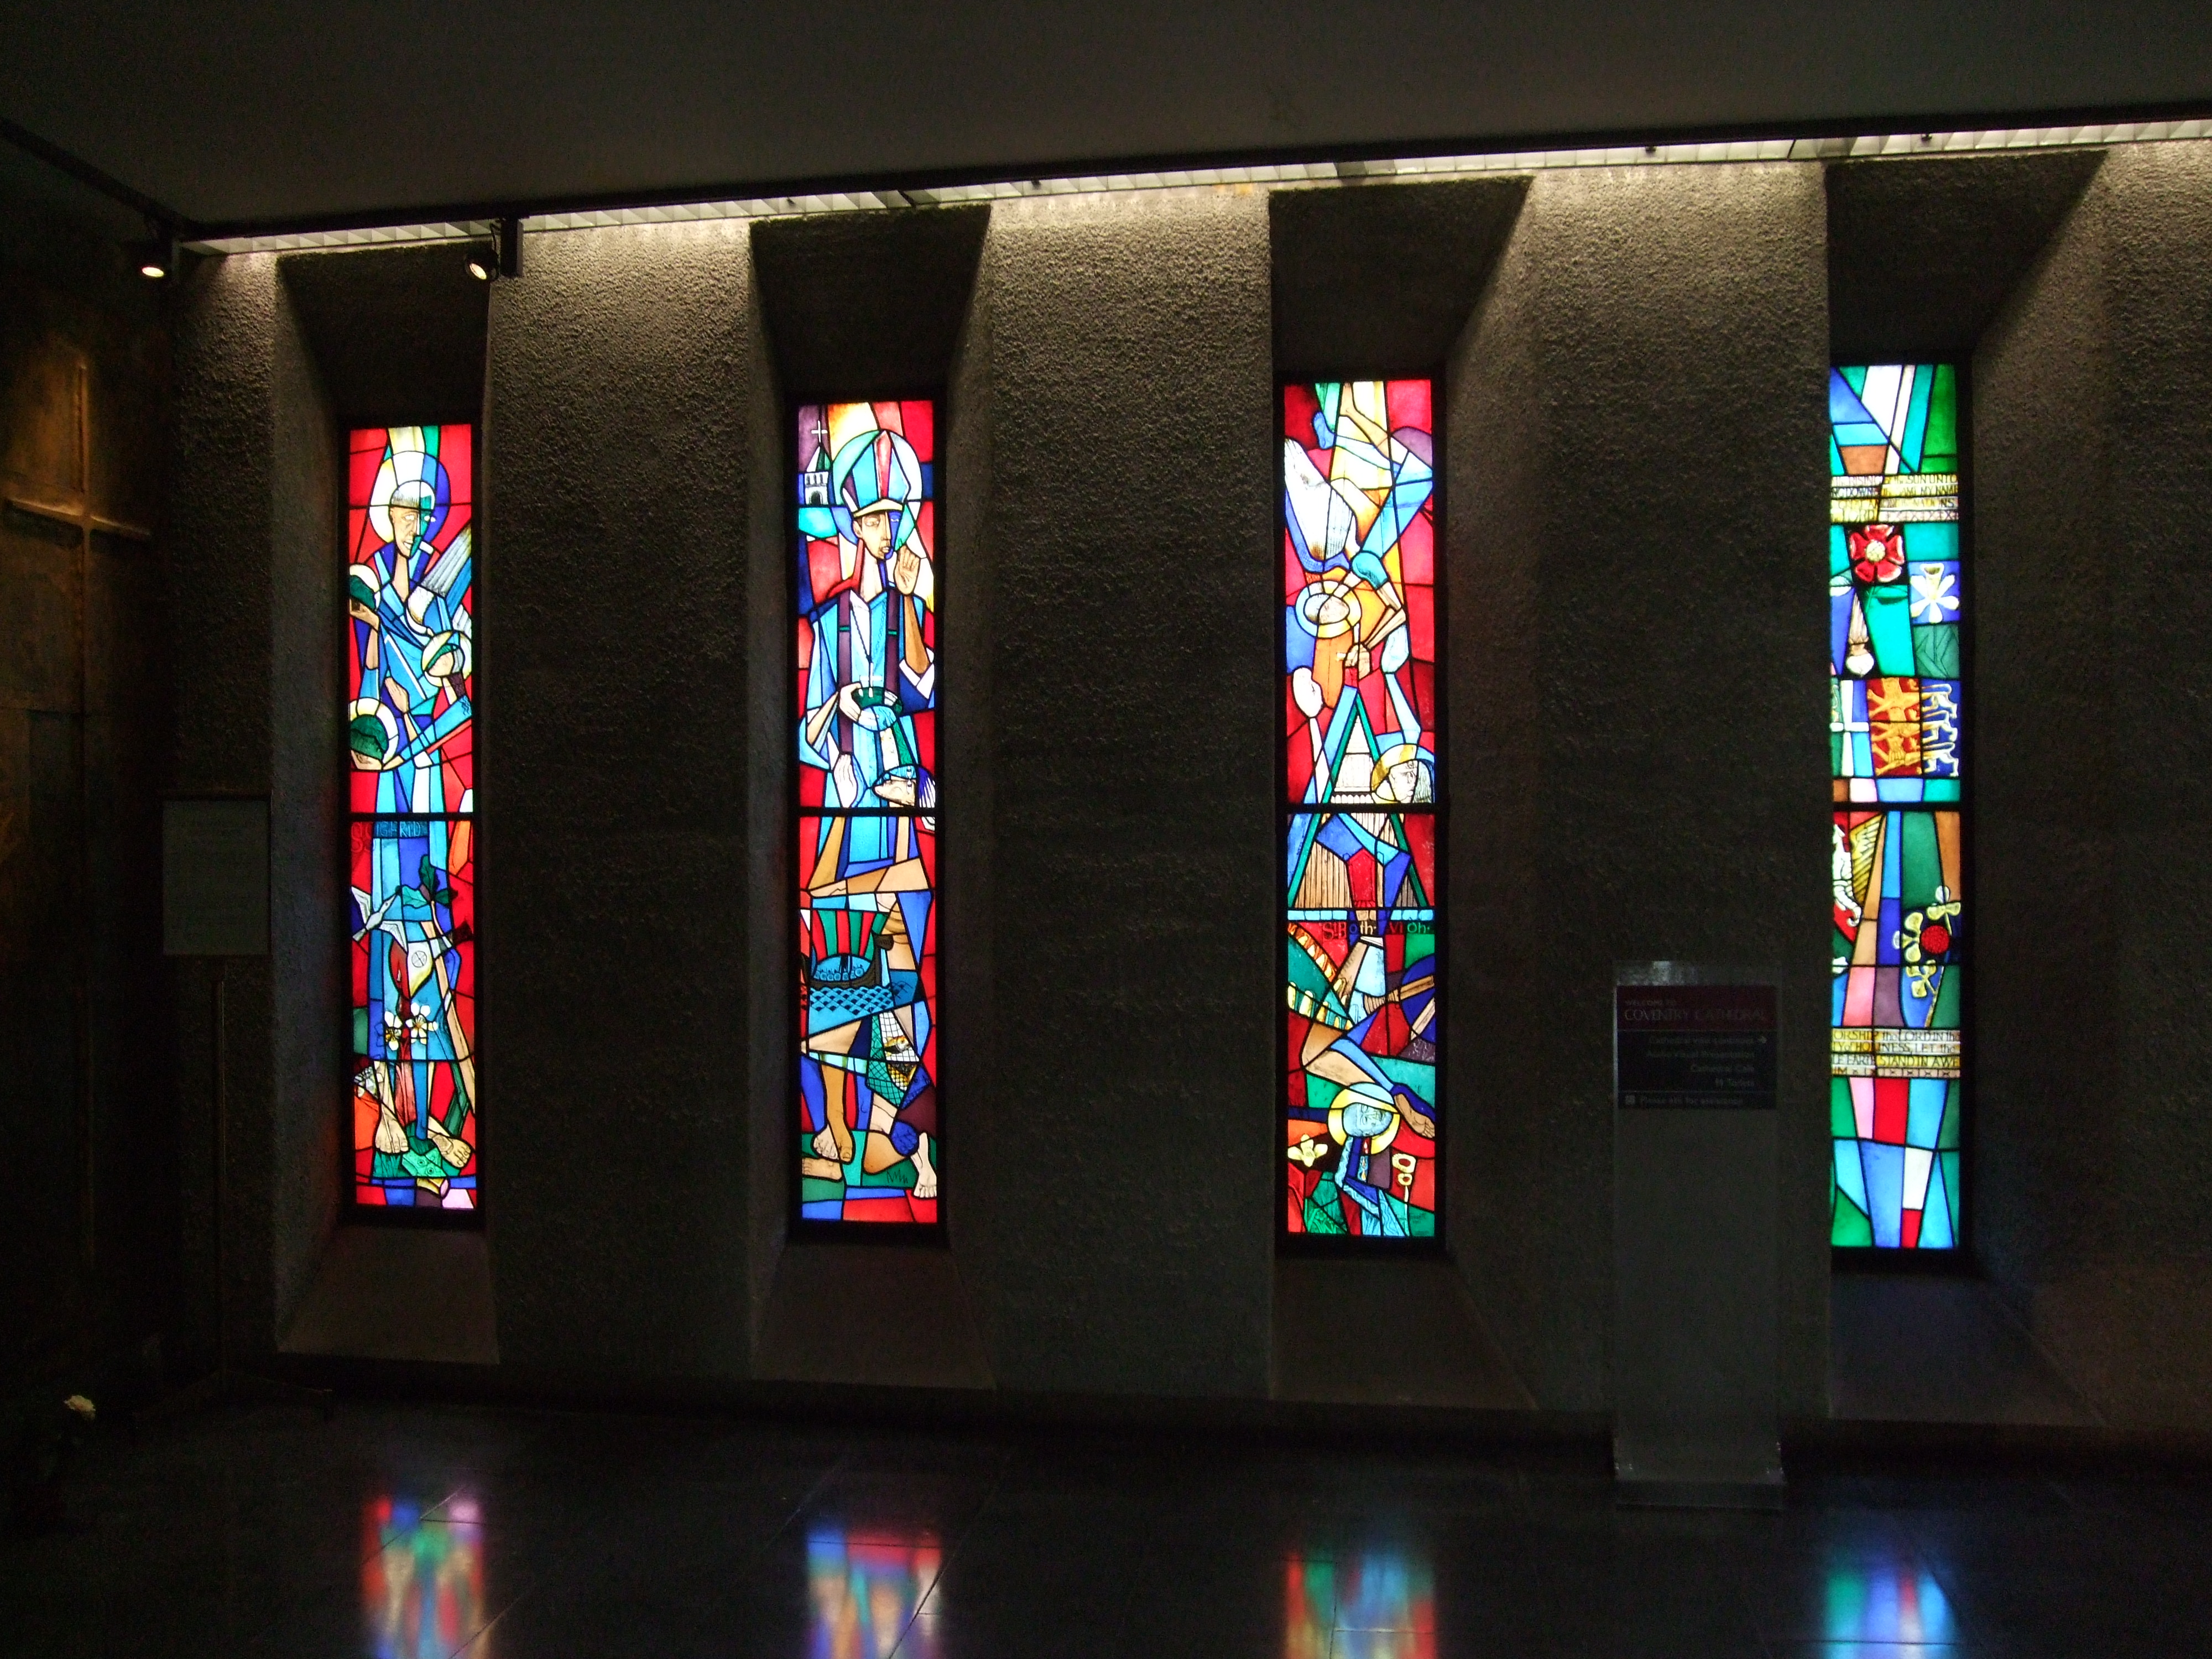 Stained Glass Windows - Coventry Cathedral.
Just the opposite of cathedral would be opalescent, because it is opaque to light. Like cathedral there is another clear, one colored glass type but the only difference is that Seedy Cathedral has tiny air bubbles inside the glass. Granite pattern cathedral has gravel like texture on one side of the glass. Spectrum feathered, contains two or more colors, is mixed in layers and can be semi transparent cloudy to a cloudy opaque. Baroque is usually a clear glass with another colored glass fused on its surface. English Muffle, another variation of the cathedral glass, has raised bumps on surface, which has the opposite appearance of hammered cathedral. Antique glass has fine lines inside the glass giving it an old type appearance. Iridescent can be cathedral or opalescent type glass that looks like it has an oily surface giving it a rainbow like appearance. Glue chip doesn't have a rainbow like appearance but it does have a frosted or lace appearance, which is done by applying glue and sandblasting the exposed surface. Water glass has a wavy or rippled appearance type glass and the last type of glass is called bull's eye, which is composed of many different colors.
After selecting your glass it is important to buy your glass. The cost of glass is found by multiplying the length by the width by either $.3 or $.4 depending on the glass. The glass that costs three cents is the spectrum brand glass that is greens, amber, black, blues, whites, browns, glue chip and mirrored glass. All warm colors are four cents this includes reds, oranges, yellows, pinks, antique, waterglass, iridescent and baroque. All these glass types can be chosen from when picking glass for a project.
After the completion of laying out all of the cut paper on the glass next would be scoring. To score you would use a glasscutter but if the glass were hard to score it would be better to stand up and score or check the cutter angle. Cutting curves could be difficult and is easier to cut out parts at a time like a rainbow. After scoring the glass it is time to break the glass using a breakers. There are two sides to a breaker. The flatter side breaks the glass and the rounded side grinds the glass off. Once the scoring and breaking is completed then it is time to grind and fit the pieces together. Grinding the pieces using a grinder helps retain curves and accuracy on the cut of the glass pieces. To make sure that the grinder is working properly keeping the sponge wet and clean out any extra glass in tray. After grinding it is important to clean off your glass pieces. Once the all glass pieces are cleaned then they are copper foiled along all edges. If the foil keeps falling off either the glass pieces aren't fully cleaned to they're potential or can be rubbed on with a pen or such.
The next procedure would to tape glass pieces together, flip over the project and flux it. Once project is fully fluxed it is then time to solder. If solder is going on to the glass then more flux is needed and also try to avoid getting solder into any places it shouldn't be such as throat, nose, eyes, or ears. When the whole project is completed with solder on both sides then it is time to add hangers and/or a frame. After hangers are in tacked then patina the solder. The patina should turn black and once the whole glass project is completed the last step is to polish. Once the project is completely polished at its best then that is a completed tiffany stained glass project.
 Intricate stained glass inside the Cathedral
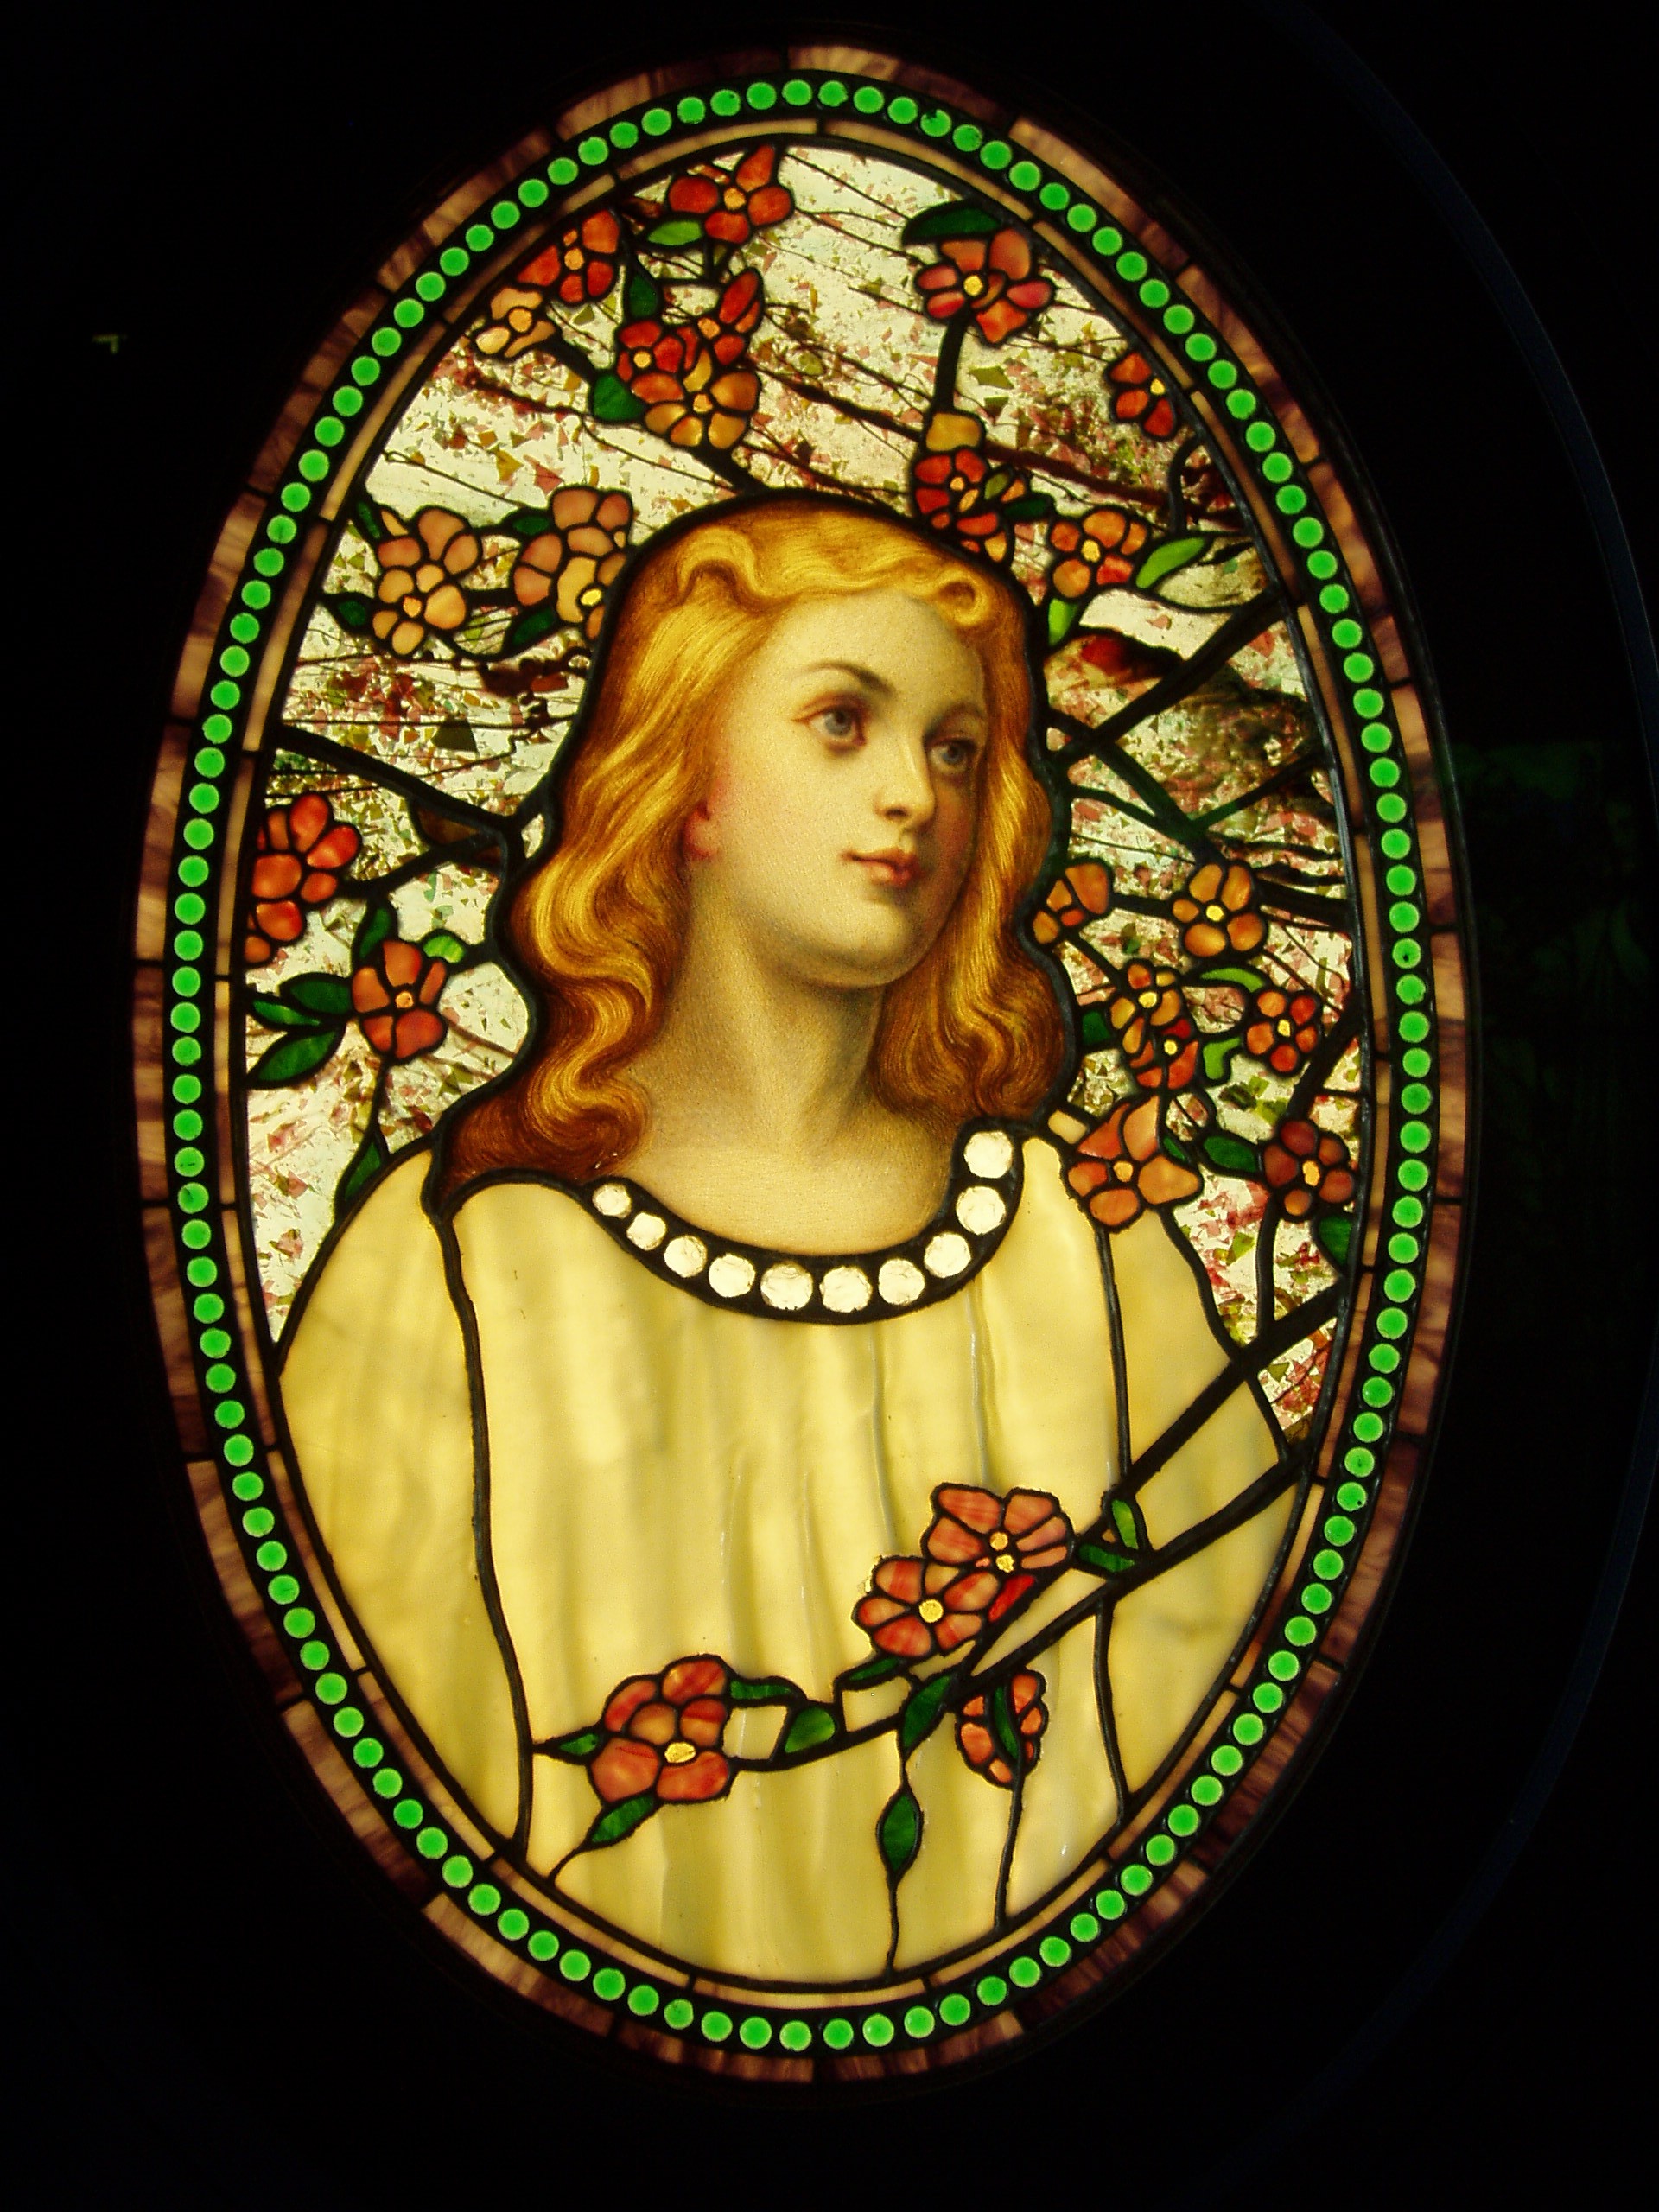 Girl with Cherry Blossoms - Tiffany Glass & Decora...
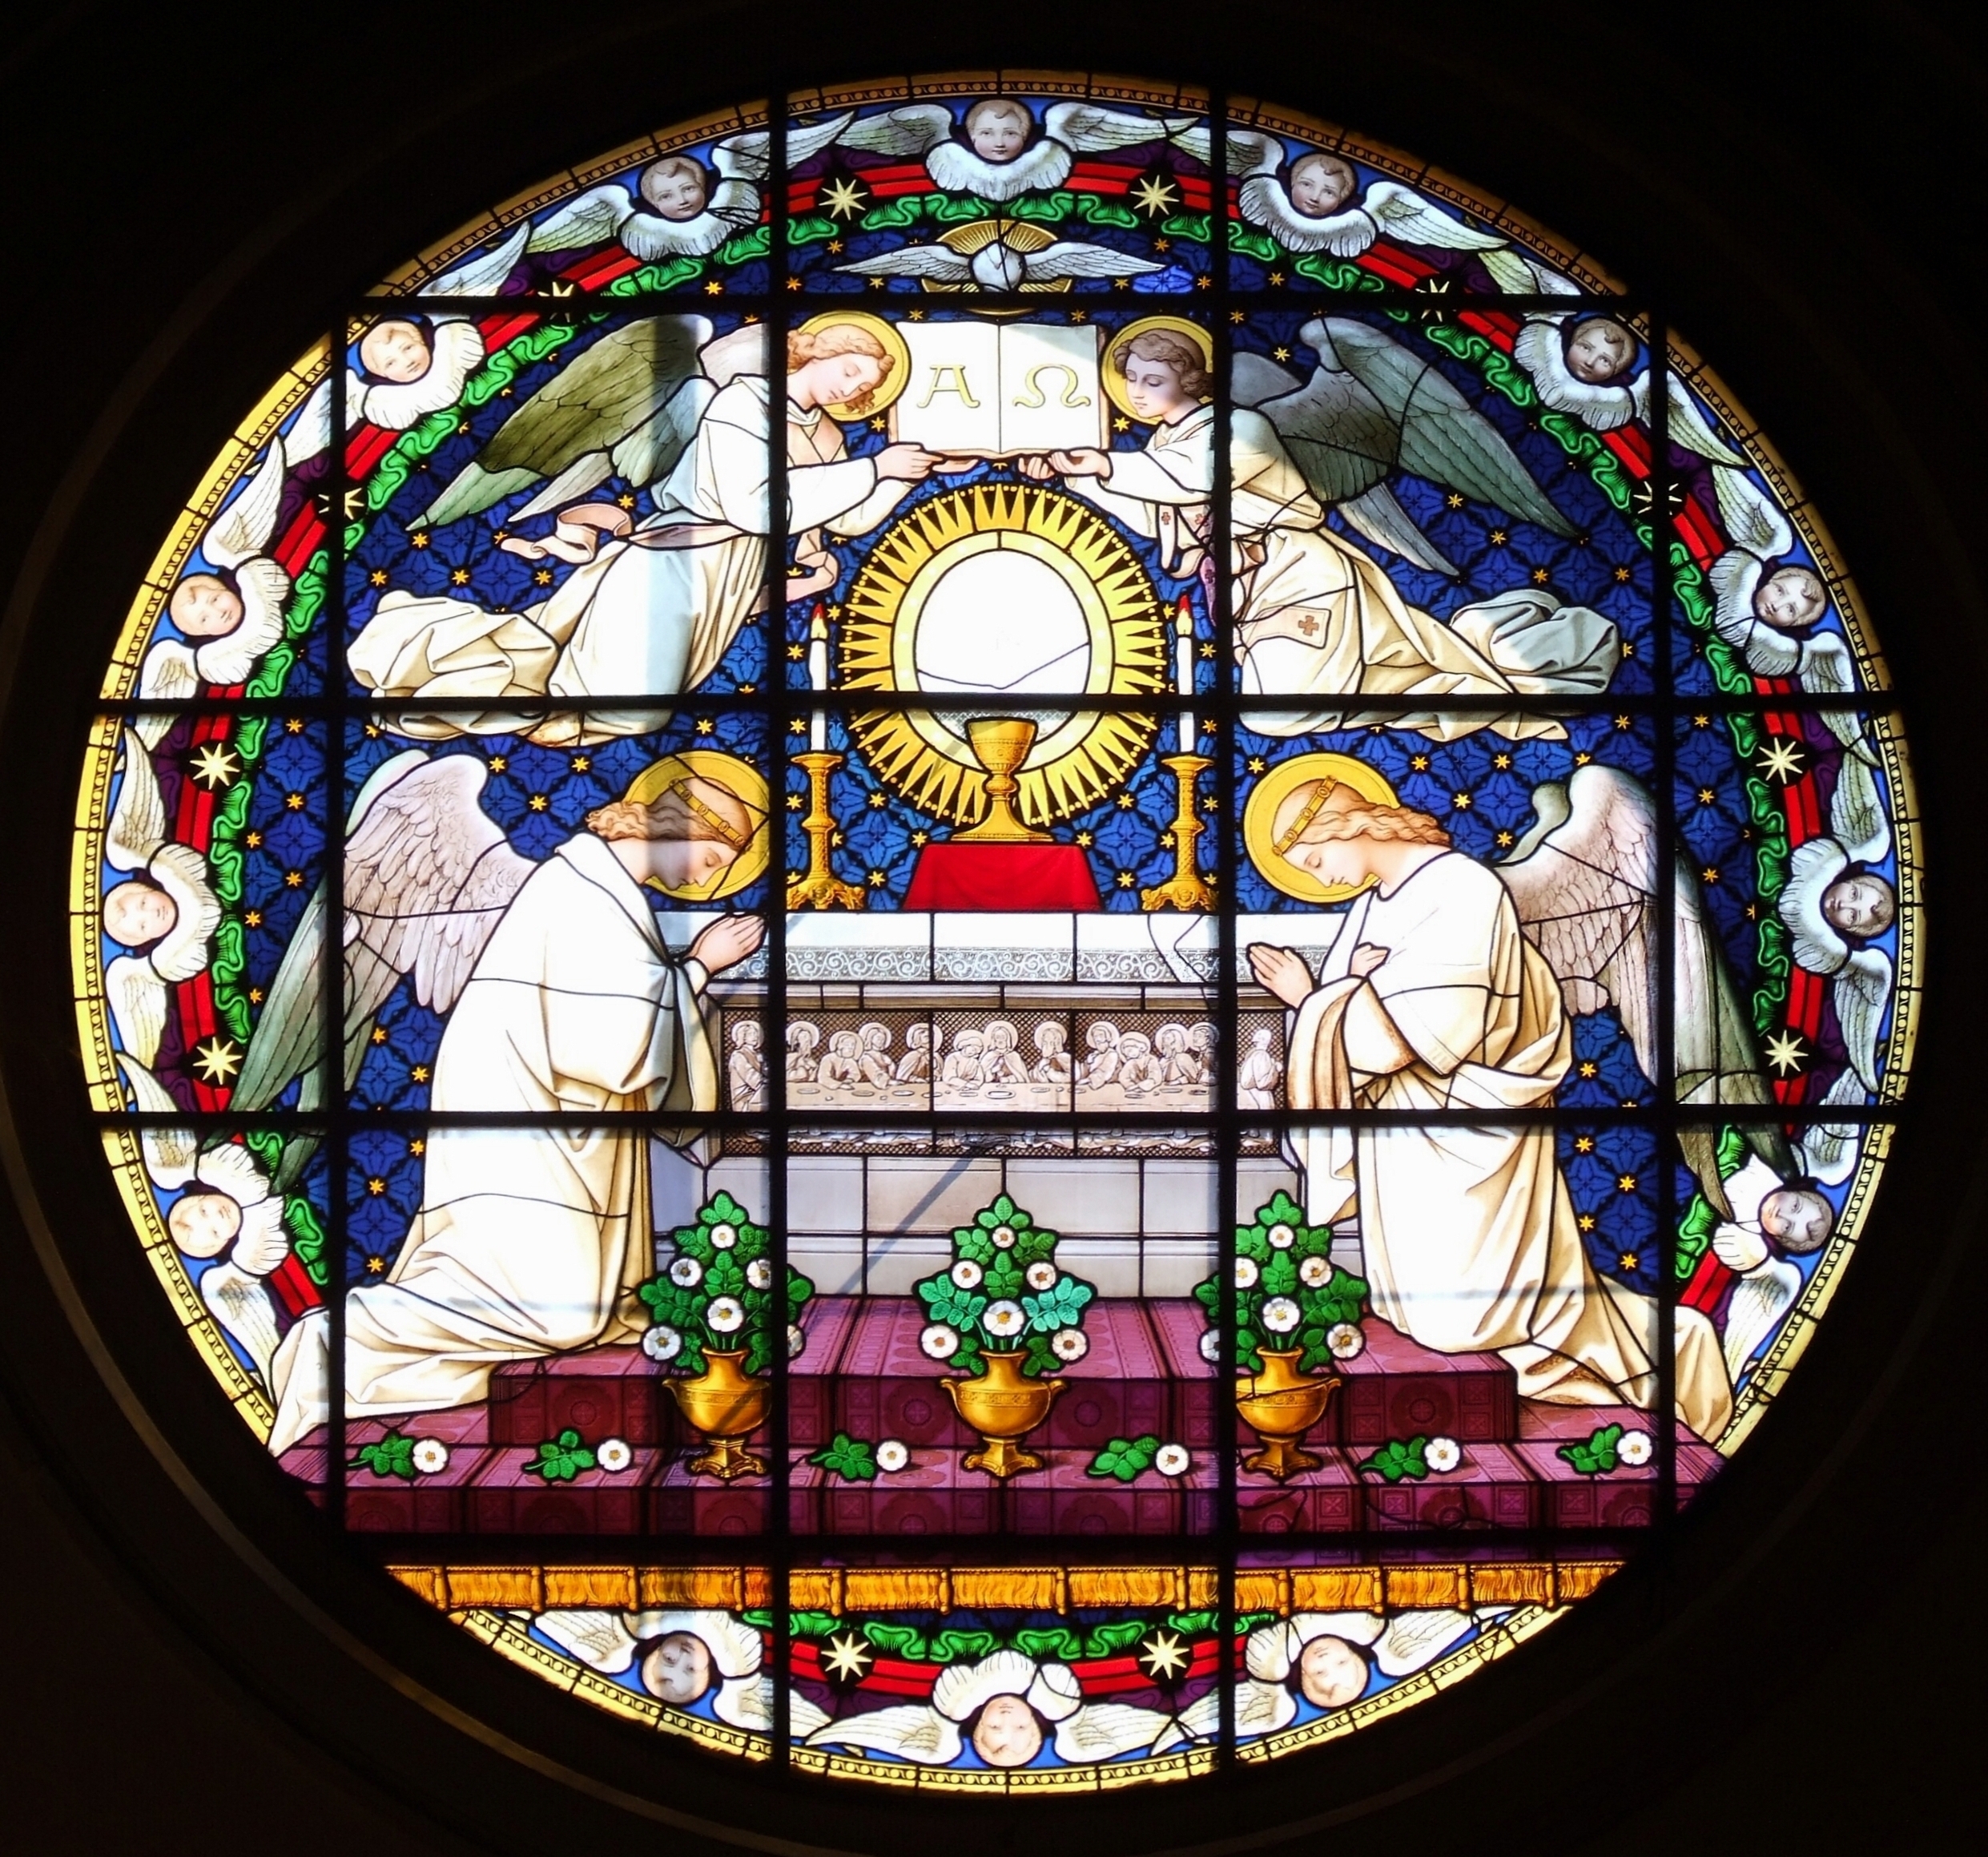 English: Stained glass in Nysa cathedral Deutsch: ...