What affects the resistance of a wire Planning for the SC1 Introduction: In this experiment I will be investigating how length affects the resistance of a wire. This means I will be taking readings from an ammeter and also a voltmeter at different lengths of a wire. It will be powered by a power pack in which I will change the voltage to get different results.
Aim: The aim of this experiment is to find out what affects the resistance of a wire. In this experiment I will be investigating whether or not length affects the resistance of a wire. I will also test this out on two different voltages (2v & 3v).
Variables: Here are the ideas in which I will see which factor/s should be changed to get best results. I think that the higher the voltage the more the resistance will change when length of the wire is changed.
 Compound ammeter = I-to-V converter + voltmeter
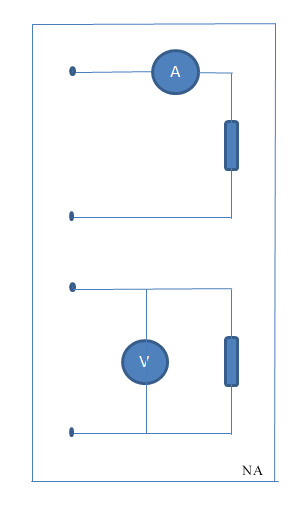 Voltmeter and ammeter
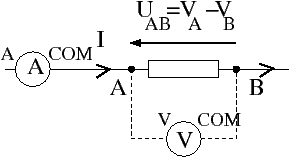 English: Connect voltmeter and ammeter. Ohm's law....
This means that the two variables will be length and also voltage.
Prediction: I predict that the longer the length of wire the smaller the current will be. My reasoning for this is because the smaller the length the less the current has to travel, therefore if the length increases the current has to go a further distance making the current less. This is the same for every other experiment I do so I also think that the longer wire the bigger the voltage, which reads on the voltmeter. My predictive graph of length of wire/ current in amps will be curved ` Method: Set up the experiment as shown below. I will start by setting the voltage on the power pack to 2 volts. When that is done change the length of the wire so that it equals 5 cm, turn on the power and take readings from the voltmeter (analogue) and on the ammeter (digital). Repeat the experiment with increments of 5 cm until the length of the wire is 60cm. After that repeat the same experiment with the same voltage. Add the two ammeter readings up for each length and then average them out. This will give the average current. Write down all results and then repeat the experiment twice using 3 volts. Record the results and place in a table. Always refer to the safety precautions before doing this experiment.
Power pack Ammeter Safety precautions: Make sure that the wires temperature is at a suitable level. This is so that you donÃÂáÃÂæt burn yourself on it. It is possible to keep this at a low temperature by only switching the power pack on for the time it takes to take the readings. Also keep an eye on the wire to see whether or not the wire is smoking. If it is smoking refrain from using the power and wait until the wire has cooled down.
How to make this a fair test? There are many things to consider when making this a fair test. The first I had to do was that I should keep all the wires I was using the same. The reason for this is that different wires have different faults and different advantages and this would result in unlikely results. Also I had to make sure that when the length of wire changed I would have check that the lengths were as accurate as possible throughout all my results. If my lengths of wire had been inaccurate then the results would also be inaccurate.
List of Equipment: "ÃÂh 1 Power pack "ÃÂh 1 ruler with wire down centre "ÃÂh 5 wires "ÃÂh 2 crocodile clips "ÃÂh 1 analogue voltmeter "ÃÂh 1 digital ammeter Preliminary Results: Voltage on power pack (volts) Voltage on voltmeter (volts) Current on ammeter (Amps) Length of wire (cm) 2 0.32 1.3 5 2 0.47 0.98 10 2 0.56 0.78 15 2 0.65 0.68 20 2 0.73 0.59 25 2 0.76 0.55 30 2 0.81 0.50 35 2 0.86 0.46 40 2 0.91 0.43 45 2 0.95 0.40 50 2 0.97 0.37 55 2 1.01 0.36 60
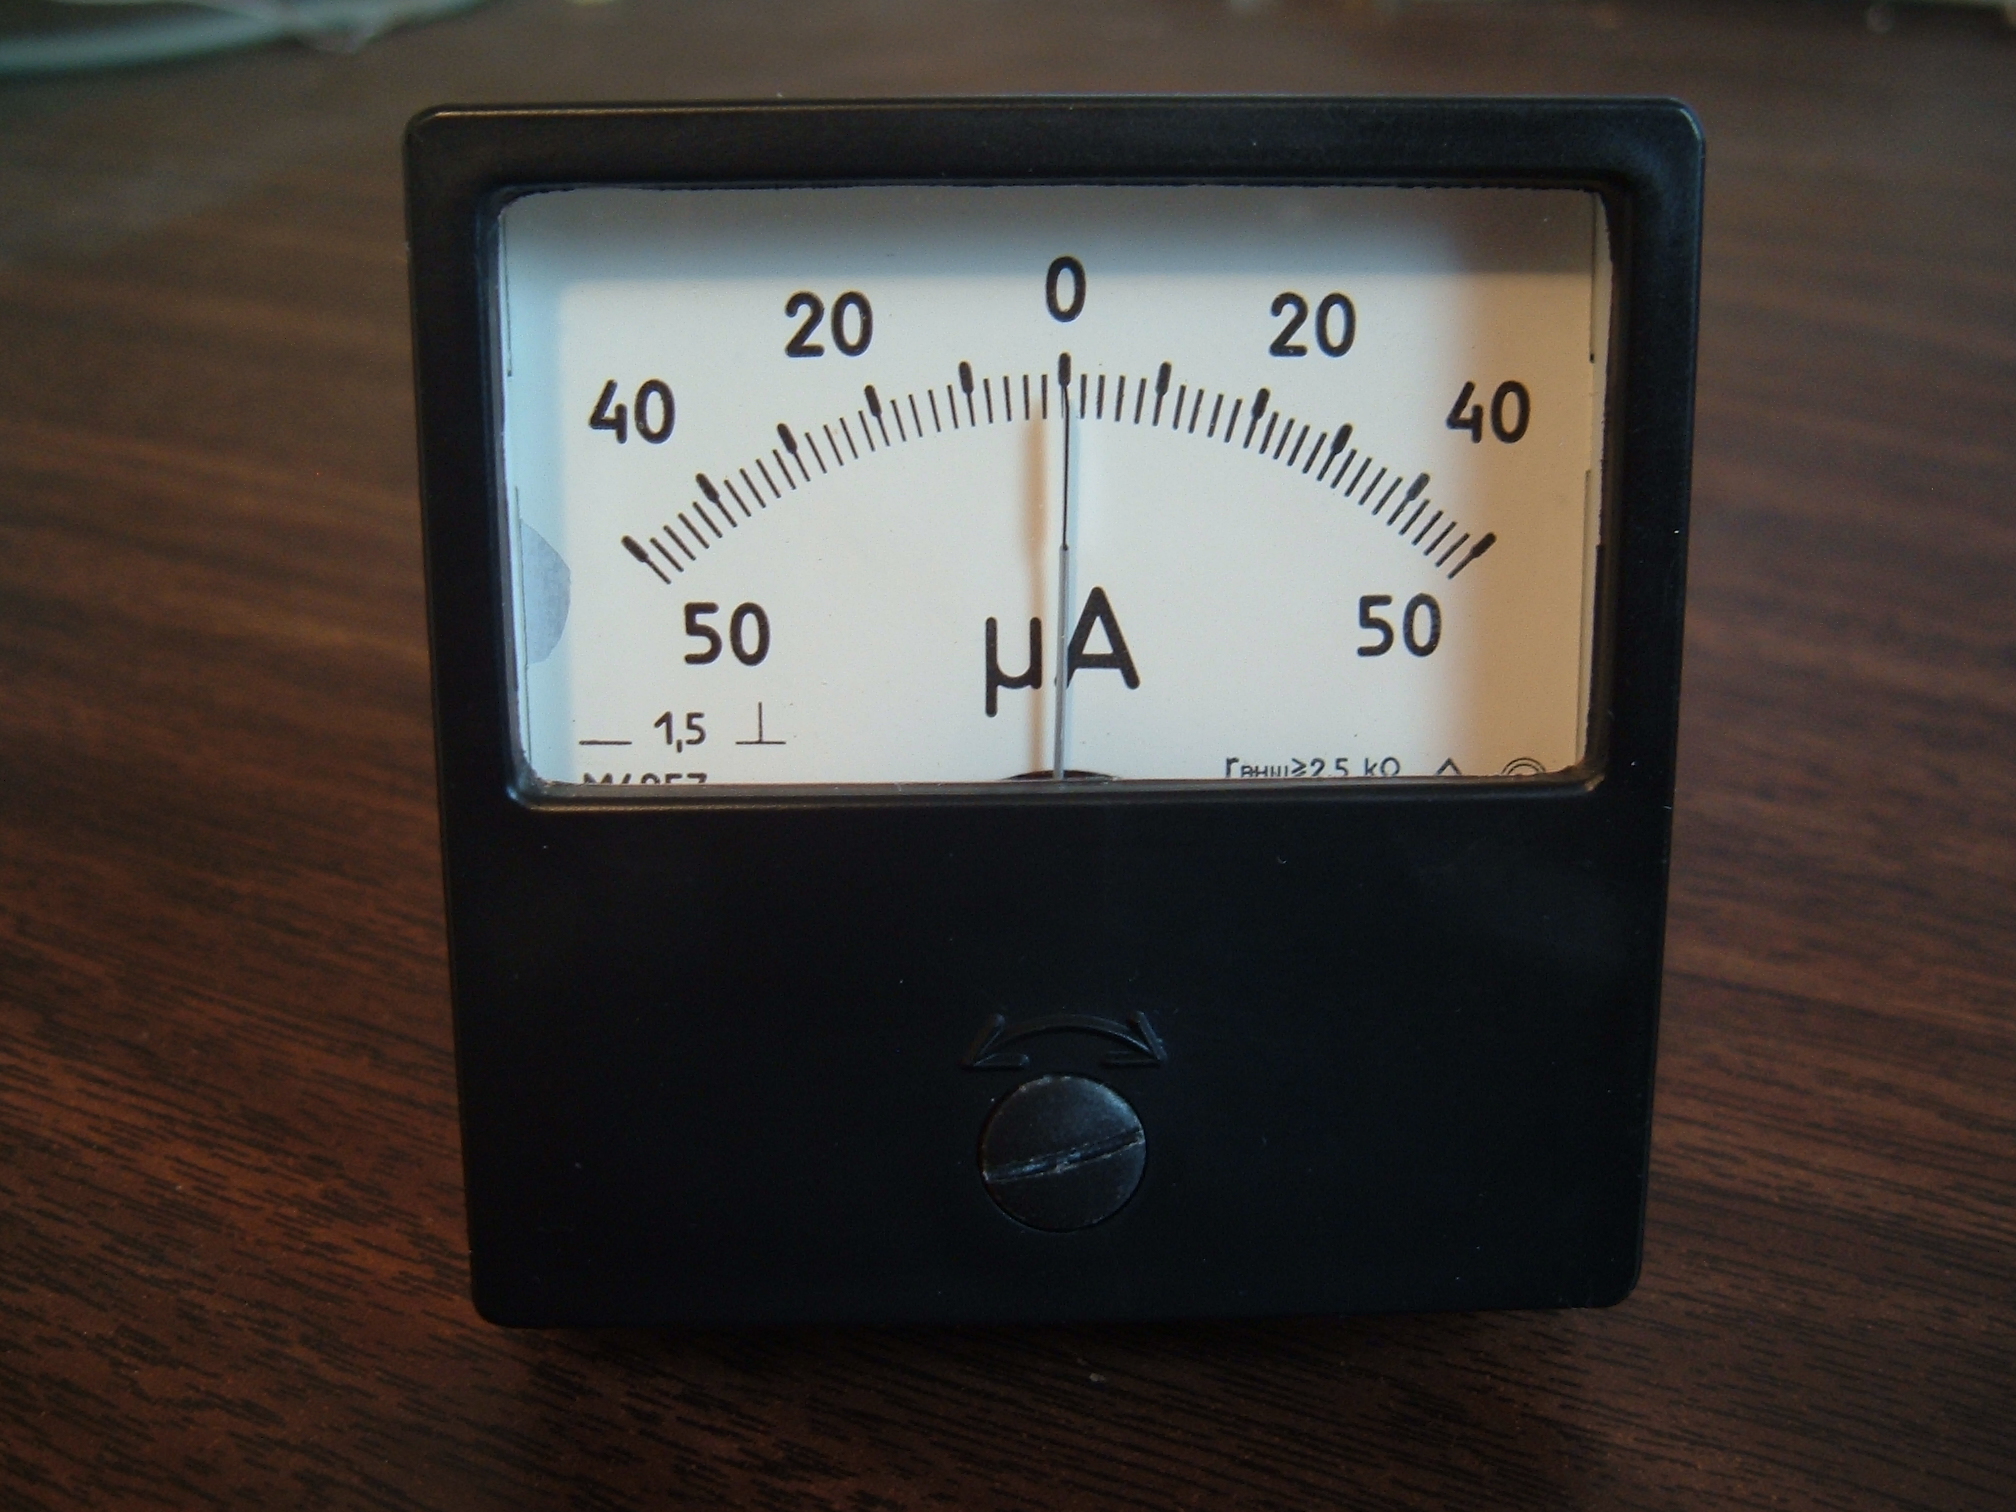 Zero-Center Ammeter
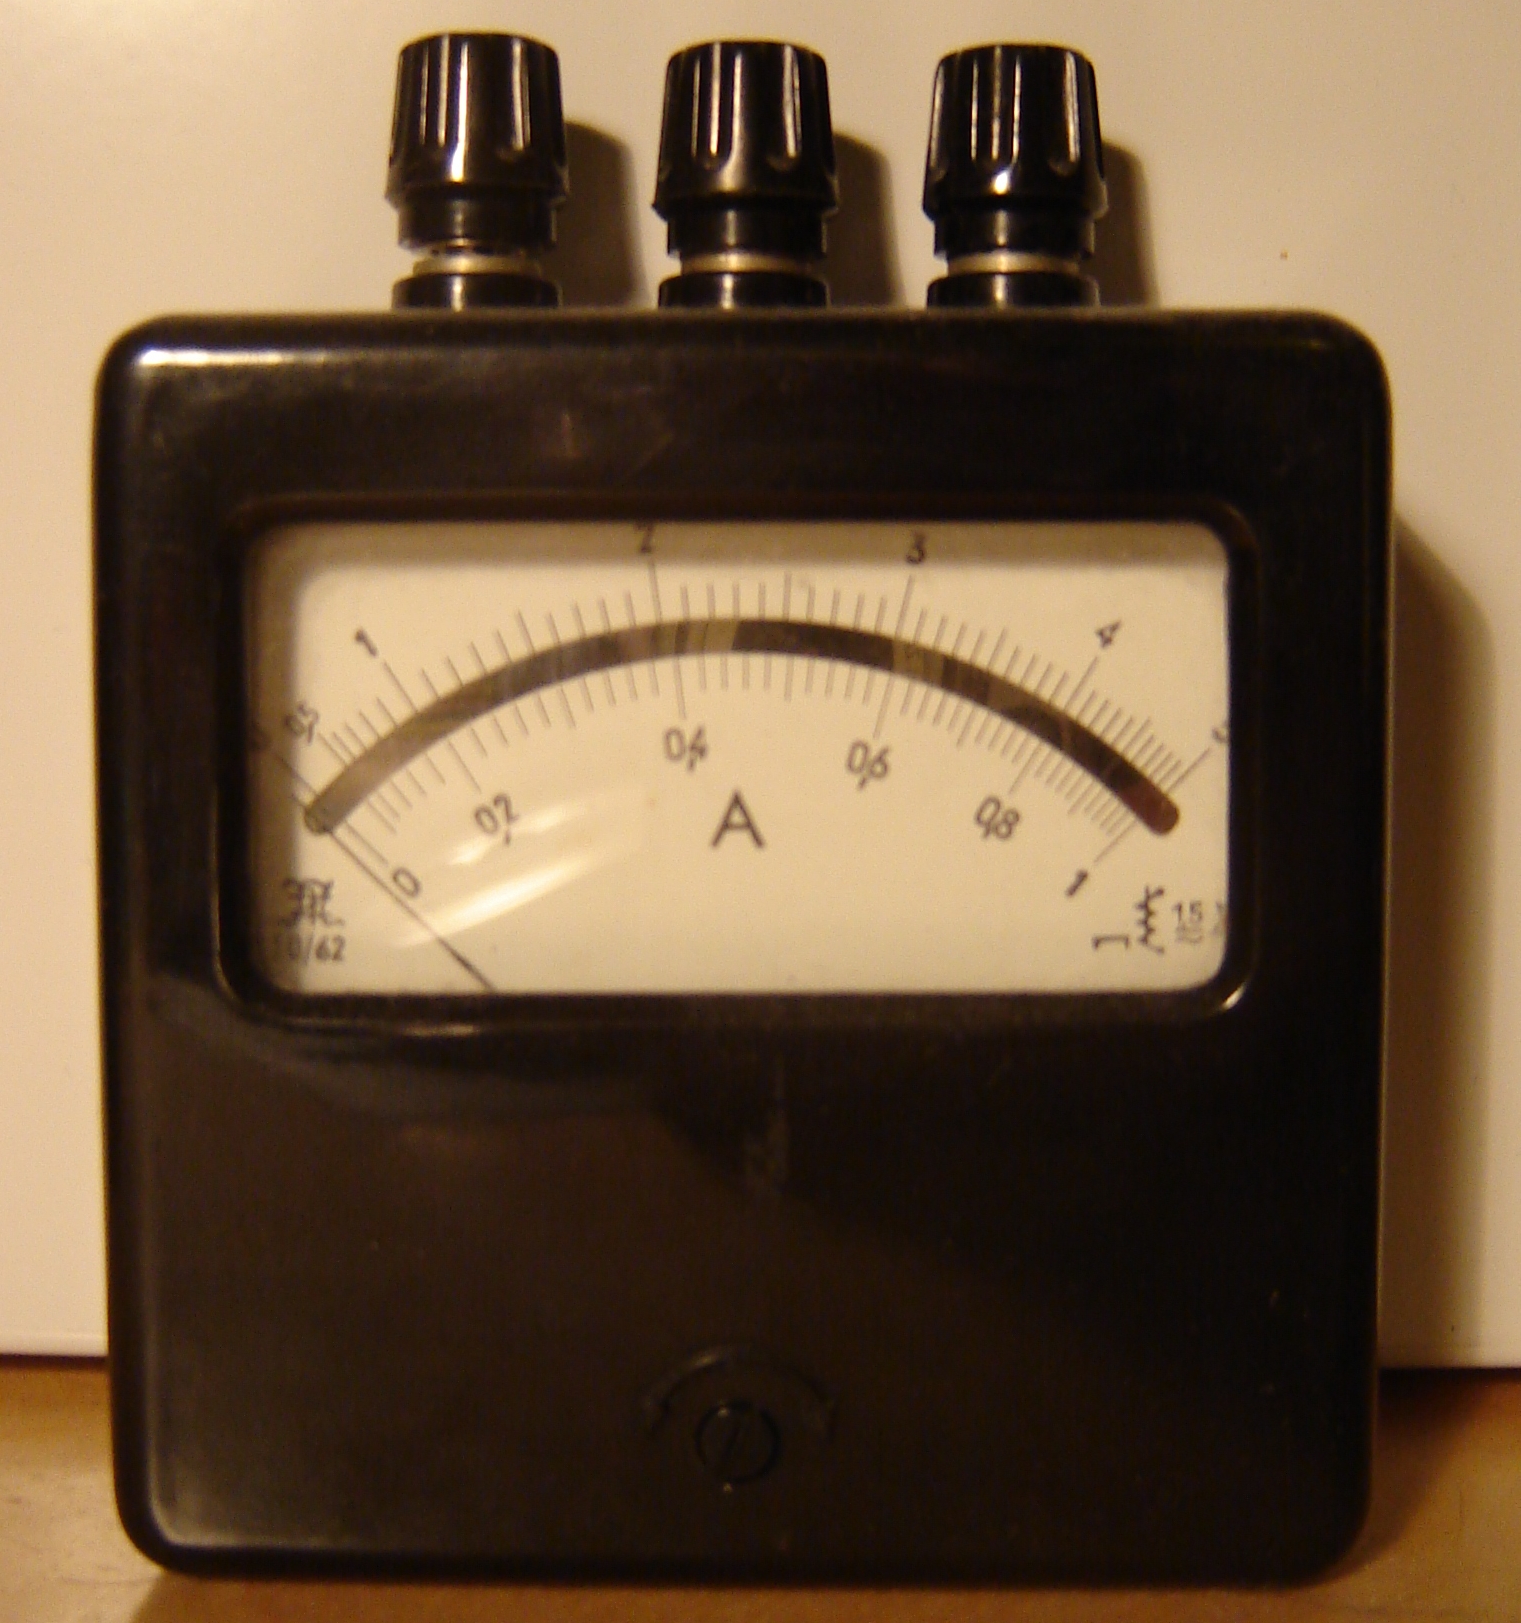 Ammeter
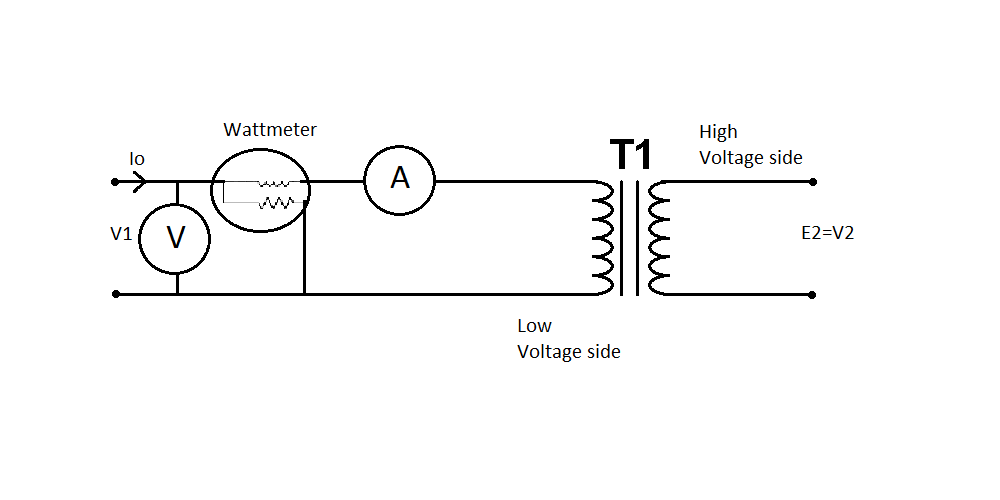 English: The watt meter, ammeter and voltmeter are...